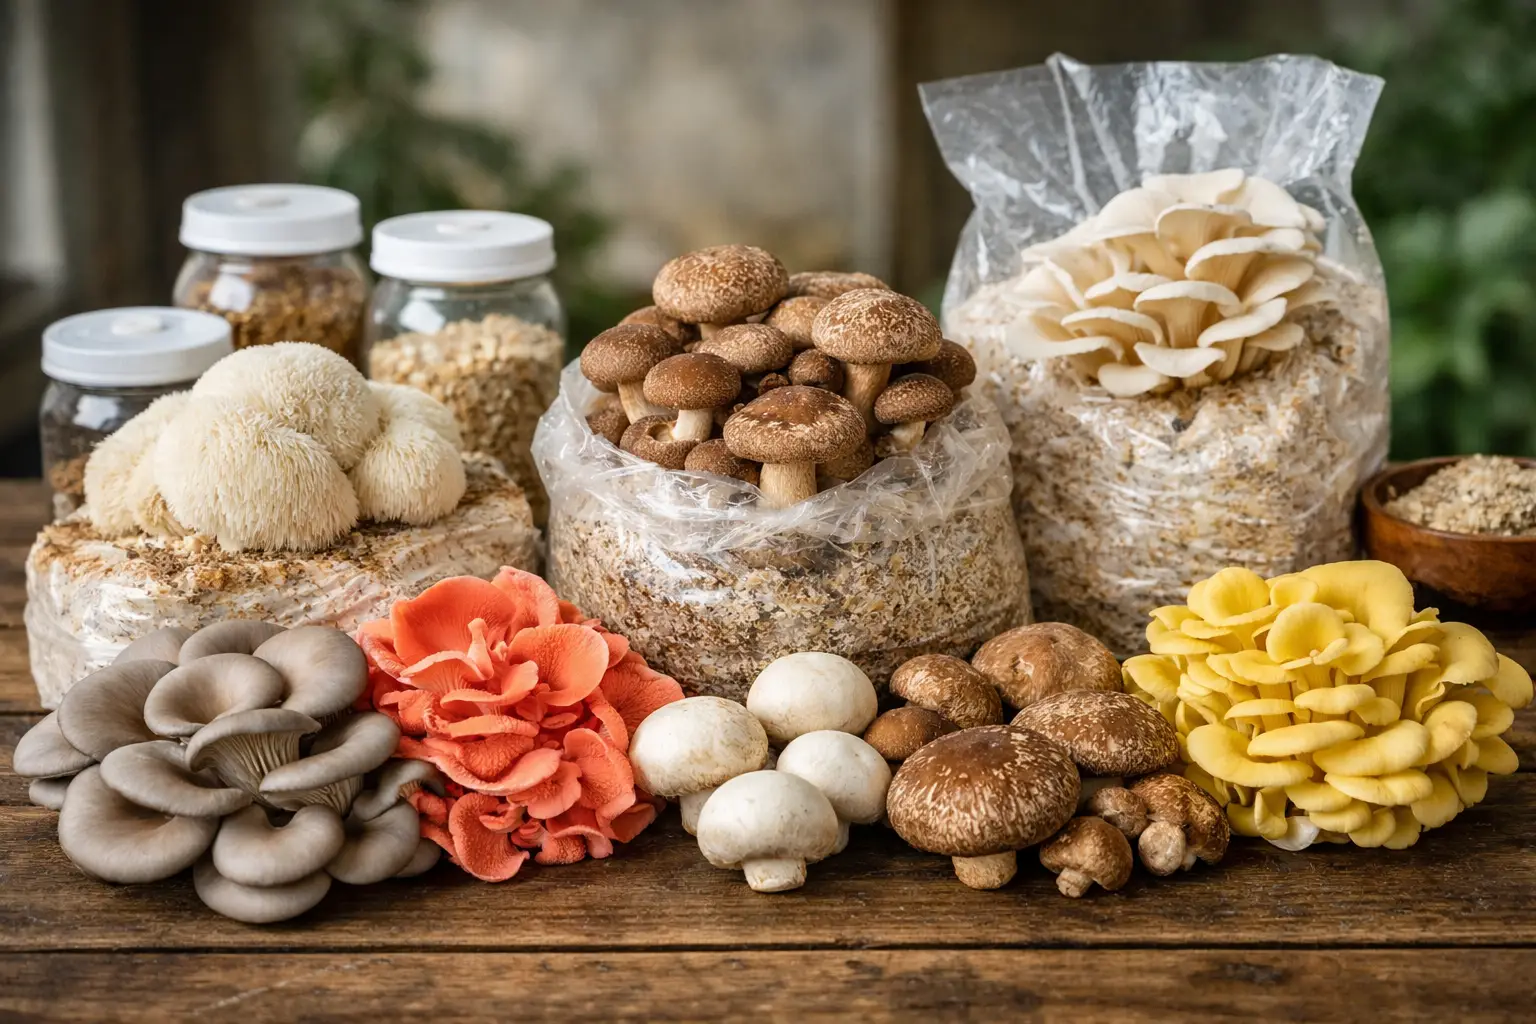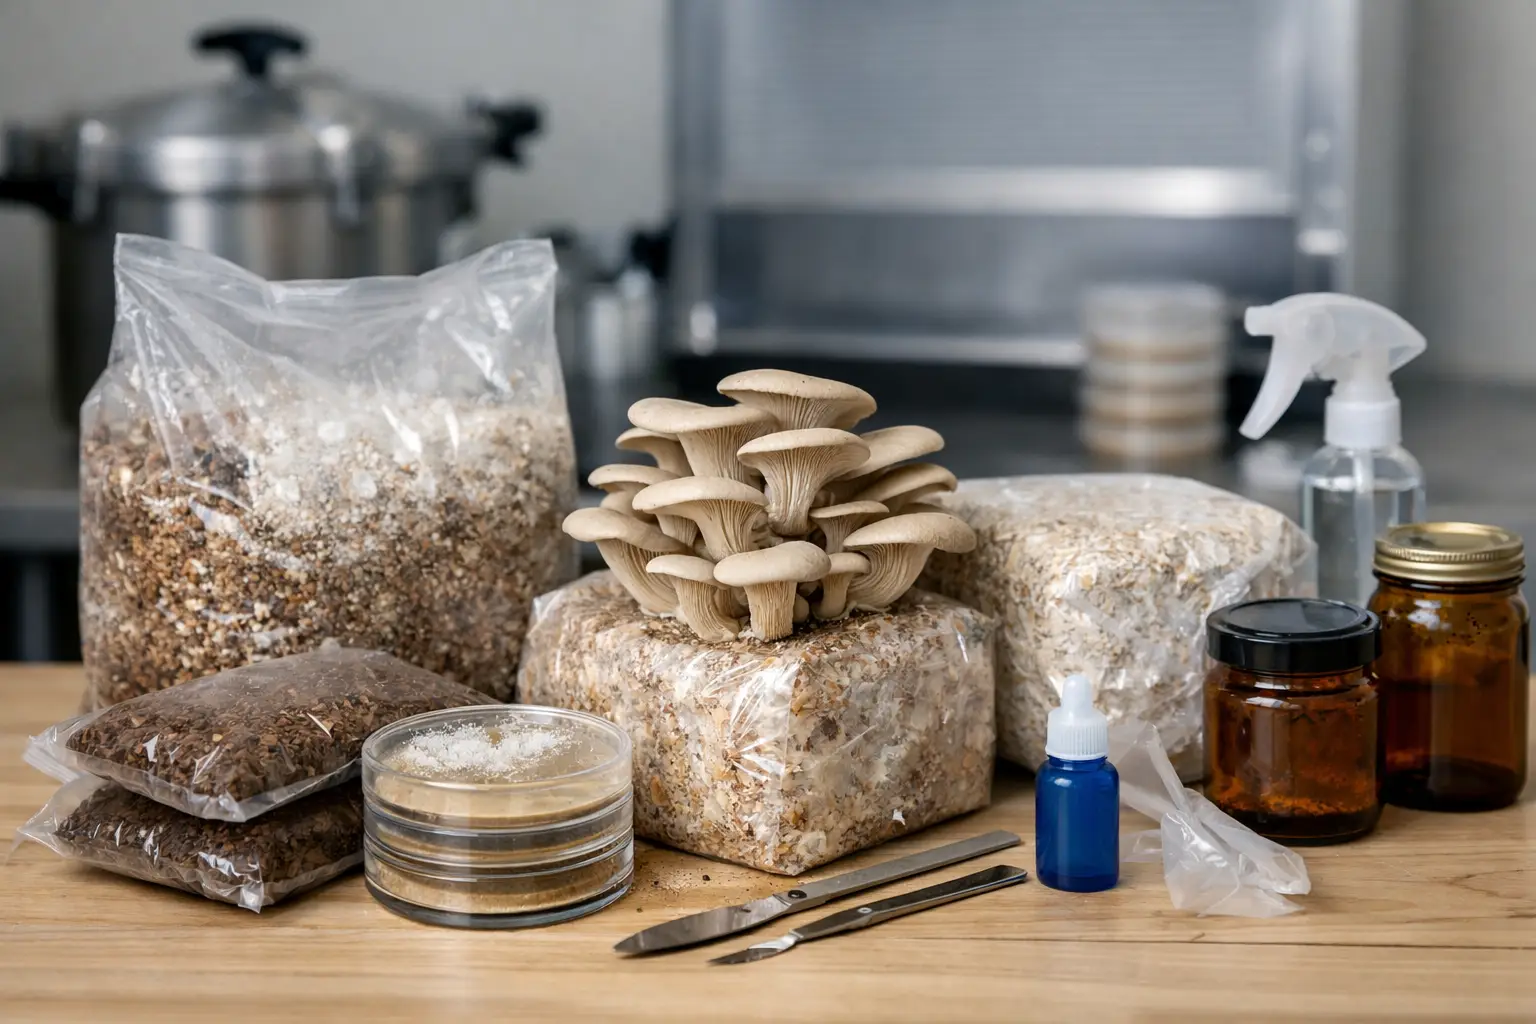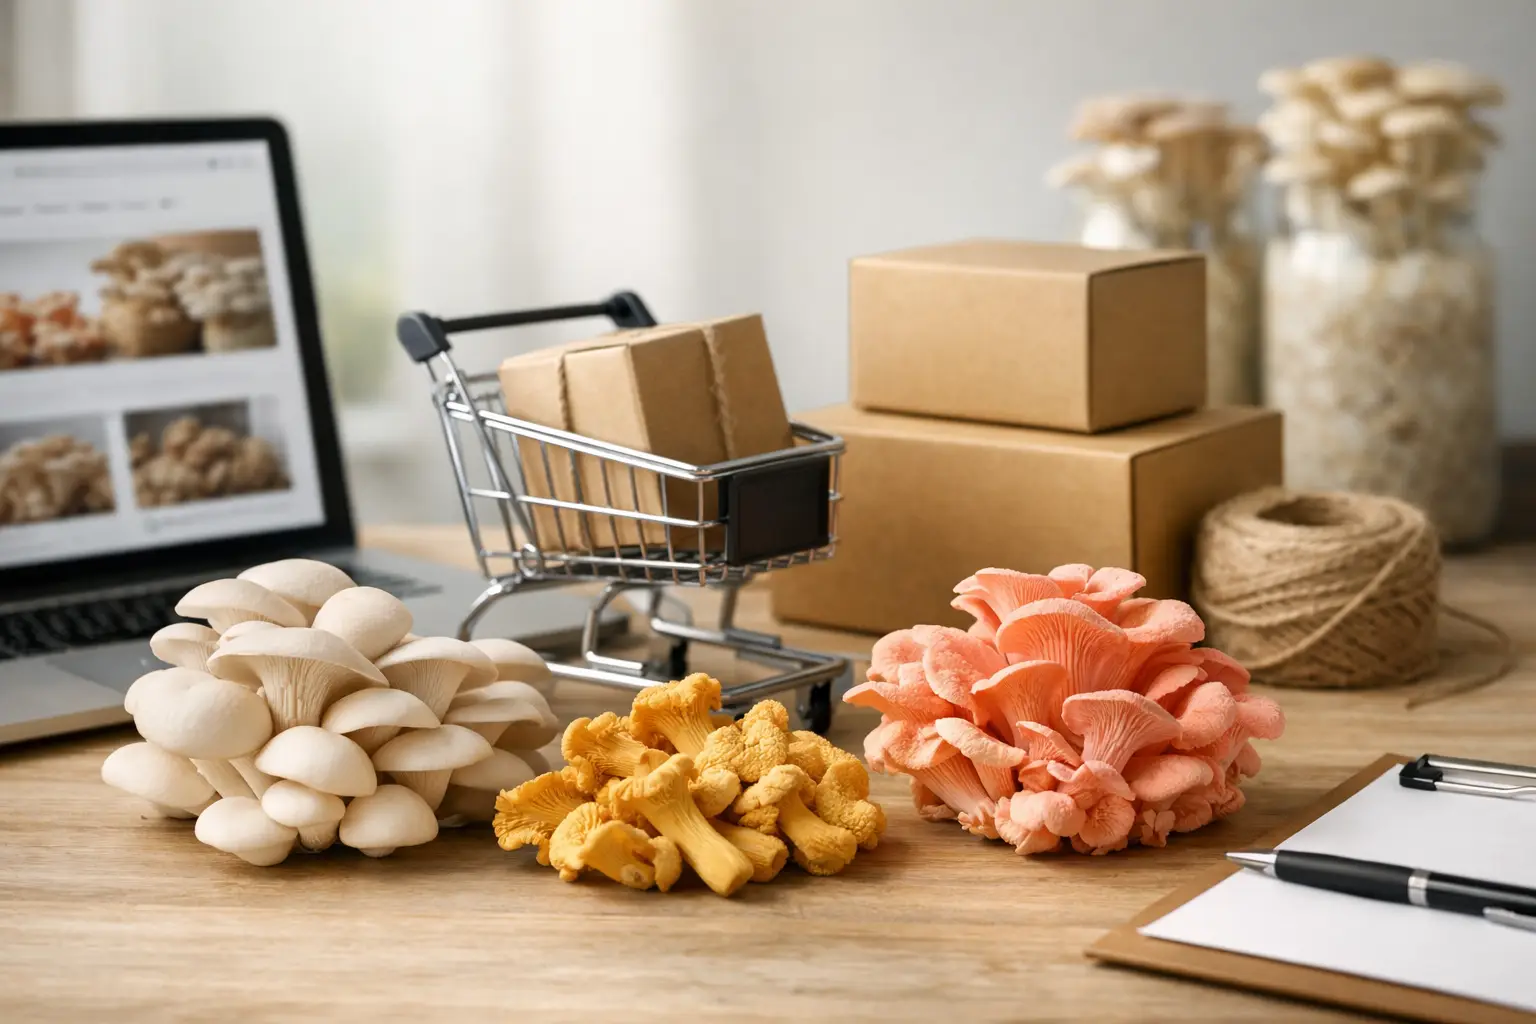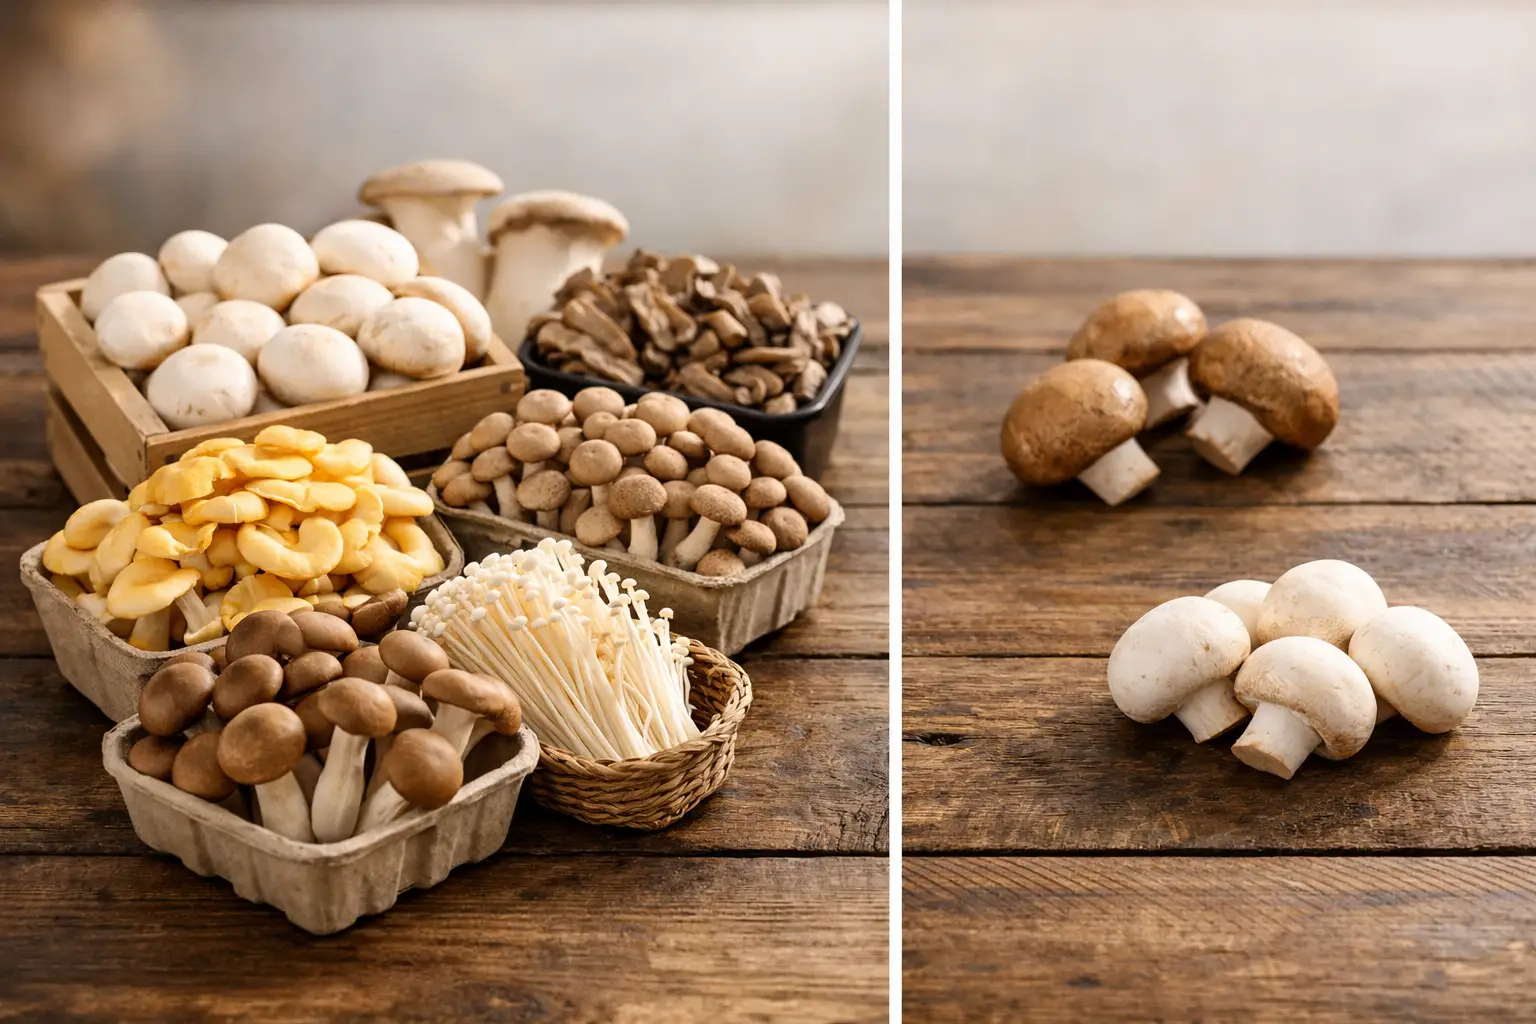
A three-pack can look like an obvious win until two items sit untouched in a drawer. A single can feel precise until shipping turns a small order into a pricey one. That is the real decision behind mushroom bundles versus singles: not which format is universally better, but which one makes sense for the way you collect, study, or work with cultures.
For buyers building a reliable mycology shelf, the best choice usually comes down to purpose, pace, and how much variety you will actually use. Bundles reward a plan. Singles reward flexibility. Knowing where you fall saves space, money, and the frustration of ordering the wrong format for your next project.
Mushroom Bundles Versus Singles at a Glance
Singles are individual products purchased one at a time. They make it easy to select a specific spore syringe, spore print, edible culture, or supply item without committing to a larger set. This is the cleanest option when you know exactly what you need.
Bundles group multiple items into one offer. They may center on a theme, a product format, fan-favorite varieties, or a broader mix designed for buyers who want to explore more than one option. The appeal is straightforward: more selection in one checkout, often at a better per-item price.
Neither format is automatically the better deal. A bundle is valuable only when the included items fit your interests and timing. A single is economical when it prevents you from buying extras that will not serve a purpose.
When Singles Are the Better Move
Singles are built for focused shopping. If you have one variety in mind, need to replace a particular item, or want to evaluate a source before expanding your collection, ordering individually keeps the decision simple.
They also work well for buyers who have limited storage or prefer to keep their collection lean. A carefully chosen single gives you control over every item that arrives. There is no overlap with products you already own and no pressure to make use of an unfamiliar selection just because it came in a pack.
You are testing a new format
Maybe you usually shop prints and want to try a ready-to-inoculate edible culture. Maybe a specific variety has been on your list, but you are not ready to buy a broad assortment. A single lets you test the format, packaging, and fit for your workflow before buying more.
This approach is especially useful when your interests are narrow. A microscopy-focused buyer, for example, may care more about a specific specimen than a mixed assortment. The same goes for growers who are maintaining a small, intentional rotation of edible cultures.
You need exact control over your order
Singles are also the right call when you are pairing products with supplies you already have. If you need one replacement syringe, one print, or one particular culture, a bundle can create unnecessary duplication. Select the item, check the product details, and keep the cart aligned with the project at hand.
The trade-off is that individual orders can carry a higher per-item cost. Shipping can also take up a bigger share of the total when the cart is small. That does not make singles a poor value. It simply means their value is precision rather than volume.
Why Bundles Appeal to Mycology Enthusiasts
Bundles make sense when variety is part of the goal. Instead of researching and adding several products separately, you get a curated group in one purchase. For collectors, hobbyists building a reference selection, and buyers who enjoy comparing varieties or formats, that convenience matters.
At Myceli Nation, bundles can also be a practical way to browse beyond one familiar favorite. A well-matched pack introduces options you may not have searched for on your own while keeping your order organized around a clear category or theme.
Better per-item value, when you will use it
The most visible bundle advantage is usually price. Buying several products together may lower the effective cost per item compared with purchasing each one separately. Combined shipping can improve the math further, particularly for buyers placing a larger order anyway.
But value is not the sticker price alone. If a five-item bundle includes two products you would never choose individually, it may not be a bargain for you. Before checking out, divide the bundle price by the number of items you genuinely want. Then compare that number with the individual products in your cart.
More variety without a scattered cart
A bundle is also a shortcut for building range. This is useful if you are new to a category, expanding a collection, or looking for multiple options to study over time. Rather than piecing together a selection from dozens of product pages, a bundle gives you a starting point with a built-in point of view.
That said, variety works best when it is intentional. Choose a bundle because the group has a purpose for you, not simply because it contains the most items. A smaller, relevant pack often beats a larger one filled with random extras.
How to Compare a Bundle With Individual Items
Start with the products, not the promotion. Read the included varieties, formats, quantities, and any product-specific notes. A bundle title may sound broad, but the details tell you whether it matches what you actually want to add to your collection.
Next, look at your existing inventory. Do you already have similar items? Are you likely to use the bundle’s contents within a reasonable timeframe? Storage conditions, labeling, and your own organization habits all affect whether a multi-item purchase stays useful.
Then compare the real cost. Add up the individual products you would otherwise buy, account for shipping, and check whether the bundle creates meaningful savings. If you were only going to buy one item, a bundle may still be appealing, but it is an expansion purchase rather than a cost-saving replacement.
Finally, think about availability. Some products are easy to reorder whenever you need them. Others may be seasonal, limited, or simply harder to find in a preferred format. A bundle that includes items you have been waiting for can be worth choosing even when the discount is modest.
Match the Format to Your Buying Style
If you are a planner, bundles tend to reward you. You know what you want to explore, have room for several items, and appreciate consolidating purchases. They are particularly useful when you are building out a category, gifting to an enthusiast, or stocking up on a selection you already know you will use.
If you are selective, singles usually fit better. You prefer choosing every item yourself, you are curious about one specific product, or you make purchases around a focused need. Singles also keep experimentation manageable when you are still learning which formats and varieties belong in your regular rotation.
Many experienced buyers use both. They order singles for exact replacements and targeted finds, then choose bundles when a collection matches their broader interests. This mixed approach avoids treating either format as an all-or-nothing choice.
A Few Details That Can Change the Decision
Product format matters as much as product count. A bundle of similar items may be perfect for a collector who wants range within one category, while a mixed-format bundle may suit someone exploring spores, prints, and edible cultures. Always check that the format supports your intended lawful use and follows the rules where you live.
Timing matters too. A bundle bought for a future idea is less useful than one bought for a project or collecting goal you are ready to pursue. If you tend to change direction quickly, singles can prevent your shelf from becoming a collection of good intentions.
Packaging and labeling deserve attention as well. With multiple items arriving at once, label them clearly, keep product information together, and avoid relying on memory later. A bundle creates more value when you can identify and organize every item from day one.
Make the Cart Work for You
The smartest order is not always the biggest bundle or the cheapest single. It is the one that gives you useful variety, clear product choices, and a collection you are genuinely excited to return to. Shop singles when specificity leads the purchase, and choose bundles when the full set earns its place in your lineup.