
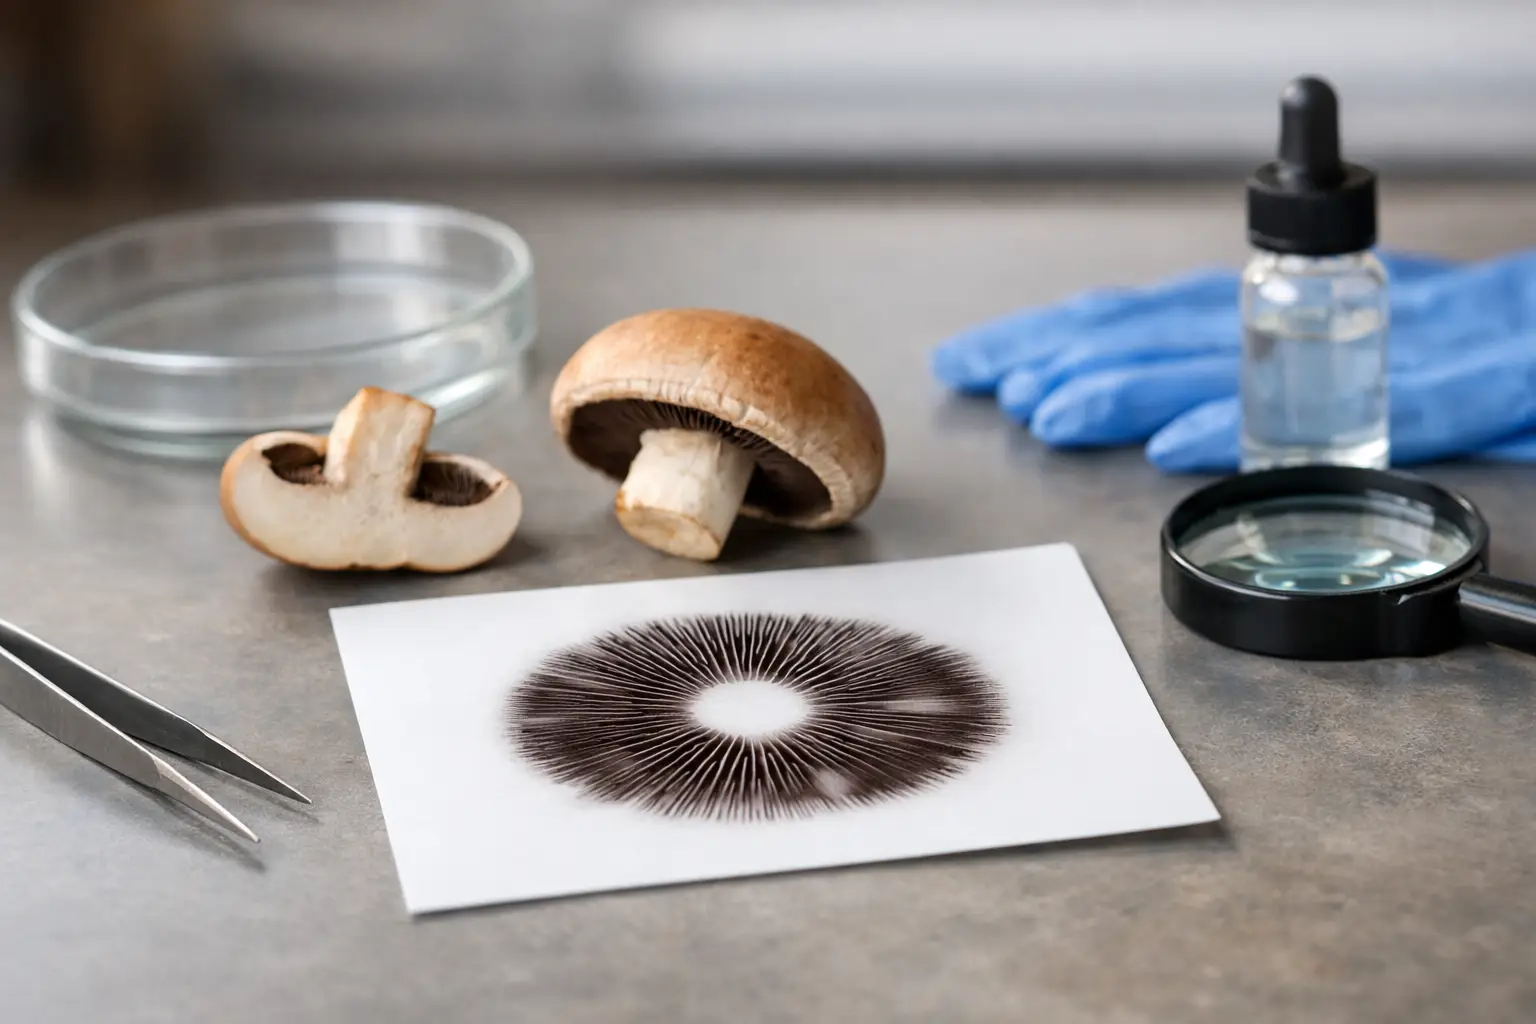
A good spore print tells you a lot before you ever put it under the scope. Color, density, and cleanliness all matter, and the best way to take spore prints is usually not the fastest way. If you rush the cap onto whatever surface is nearby, you often end up with smeared deposits, excess moisture, or a print that is hard to store without contamination.
For collectors and microscopy-focused hobbyists, clean technique matters more than fancy gear. You do not need a lab setup to get a usable print, but you do need a stable surface, a mature cap, and a little patience. Most problems come from one of three places: the mushroom was picked too early, the environment was too damp, or the print surface was poorly chosen.
What is the best way to take spore prints?
The best way to take spore prints is to work with a mature, freshly harvested cap, place it gill-side down on a clean nonporous surface, cover it to reduce airflow, and leave it undisturbed long enough for a visible deposit to form. In practice, that means matching the surface and timing to your goal.
If you want a print for storage, foil is usually the easiest option. It folds cleanly, handles moisture better than paper, and makes transfer easier later. If you want to inspect spore color clearly, white and black paper can be useful, but paper absorbs moisture and is less forgiving when the cap is wet.
Glass also works well when cleanliness is the priority, though it is less convenient for storage. There is no single perfect surface for every situation. The right choice depends on whether you care most about display, microscopy prep, or long-term handling.
Start with the right cap
A perfect surface cannot fix an immature specimen. If the cap has not developed enough, it may drop very few spores or none at all. On the other hand, an overmature cap may release unevenly, hold too much moisture, or begin breaking down before the print is finished.
Look for a cap that is open and visibly mature, with intact gills and no obvious rot or bruised, soggy tissue. Freshly harvested material gives the most reliable results. If the stem is long, trim it close to the cap so the gills can sit flat against the print surface.
This small step makes a big difference. A cap that rocks or tilts tends to produce a partial print, not a full one.
Best surfaces for taking spore prints
Foil for clean handling and storage
For most growers and collectors, foil is the safest bet. It is cheap, easy to keep clean, and easy to fold once the print is dry. That makes it a strong choice if you want to preserve the print or use it later for microscopy-related handling.
Heavy-duty foil is better than the very thin kind because it wrinkles less. Wrinkles can interrupt the print pattern and make later transfer more awkward. If you are choosing one surface to keep on hand, foil is usually it.
Paper for visible contrast
White paper helps with dark spore deposits, while black paper helps with lighter ones. This is useful when your main goal is simply to observe color and pattern. The trade-off is that paper can trap moisture, and a damp cap on paper may create a muddy print instead of a crisp one.
If you use paper, keep the environment dry and avoid overwatering or rinsing the cap beforehand. Paper is better for short-term viewing than for long-term storage.
Glass for precision
Glass slides or clean glass plates can produce very crisp prints. They are easy to sanitize and helpful if you want a very clean deposit. The downside is convenience. Glass is not as easy to package, fold, or store, so it is usually better for immediate use than for building a collection.
How to take a spore print without making a mess
Set up your workspace first. Wipe down the surface, wash your hands, and have your foil, paper, or glass ready before you cut the cap. A rushed setup is where most accidental smears happen.
Place the cap gill-side down on the surface. Then cover it with a clean cup, bowl, or jar. The cover helps in two ways: it protects the cap from drafts and slows moisture loss just enough to encourage deposition. Too much airflow can dry the cap before it drops well, but too much trapped humidity can make the print wet and blurry.
That balance is the real trick. If your environment is already humid, use a larger cover with a little space underneath instead of sealing things tightly. If your room is very dry, a simple glass or bowl usually works well.
Leave the cap undisturbed for several hours. Overnight is common, but the right timing depends on the species, maturity, and moisture level of the cap. Some prints show up quickly within a few hours. Others benefit from a longer wait. The mistake is checking too often. Every time you lift the cover or move the cap, you increase the chance of smearing the deposit.
A cleaner print usually comes from less moisture
People often assume that more humidity means a better print. Not exactly. You want the cap to stay viable long enough to release spores, but if condensation forms under the cover, the spores can clump or streak.
If the cap surface is visibly wet, blot the top gently before placing it down. Do not press the gills. If condensation starts collecting under the cup or bowl, your setup may be too warm or too sealed. In that case, use a drier room, a slightly larger cover, or shorten the printing time.
The best way to take spore prints cleanly is often to lean a little dry rather than a little damp. A slightly lighter print is usually more useful than a heavy smear.
When to remove the cap
Lift the cap straight up once a visible deposit has formed. Avoid sliding it sideways. Even a good print can be ruined at the last second by dragging the cap across the surface.
If the print looks faint, you can set the cap back down carefully and give it more time, but only if the cap is still fresh and the surface is still dry. If the print already looks wet or muddy, more time will rarely improve it.
After removing the cap, let the print air dry fully before covering, folding, or storing it. This part gets skipped more often than it should. A print that looks dry can still hold enough moisture to cause problems later.
How to store a spore print properly
Once dry, fold foil prints inward so the deposit is protected. Paper prints can be placed in a clean envelope, though foil still tends to hold up better over time. Keep prints in a cool, dark, dry place away from direct sunlight and swings in temperature.
Labeling matters more than people think. Include the date, variety, and any notes about the source or print quality. If you handle multiple caps in one session, clear labeling saves confusion later.
For collectors building out a wider catalog, consistent storage makes the whole process easier. That is part of why product format matters too. Many hobbyists prefer ready-made print options because they are simpler to archive and compare across varieties.
Common mistakes that ruin spore prints
The first is using an immature cap. The second is too much moisture. The third is moving the cap before the spores have had time to settle. After that, most issues come from poor surfaces or poor storage.
Another common mistake is chasing the darkest possible print. Dense does not always mean better. If the deposit is so heavy that detail disappears, it can be harder to work with than a lighter, cleaner print.
It also helps to keep expectations realistic. Some caps drop heavily and beautifully. Others produce lighter prints even under good conditions. That does not always mean you did something wrong.
Best way to take spore prints for beginners
If you are just starting out, keep it simple. Use a mature cap, a square of clean foil, and a bowl or cup as a cover. Put the setup in a low-traffic area, leave it overnight, and let the print dry fully before folding it.
That basic method works because it removes the usual points of failure. You do not need specialty equipment. You just need a cleaner process and enough patience to let the cap do the work.
For enthusiasts who like to compare formats, build collections, or restock their microscopy supplies without bouncing between suppliers, having access to clean prints and dependable materials makes the hobby smoother. That is part of the appeal behind communities like Myceli Nation – fewer guesswork purchases, more time focused on the fungi themselves.
A clean spore print is a small thing, but it rewards careful hands. Slow down, choose the right surface, and let the cap finish the job before you touch it again.