
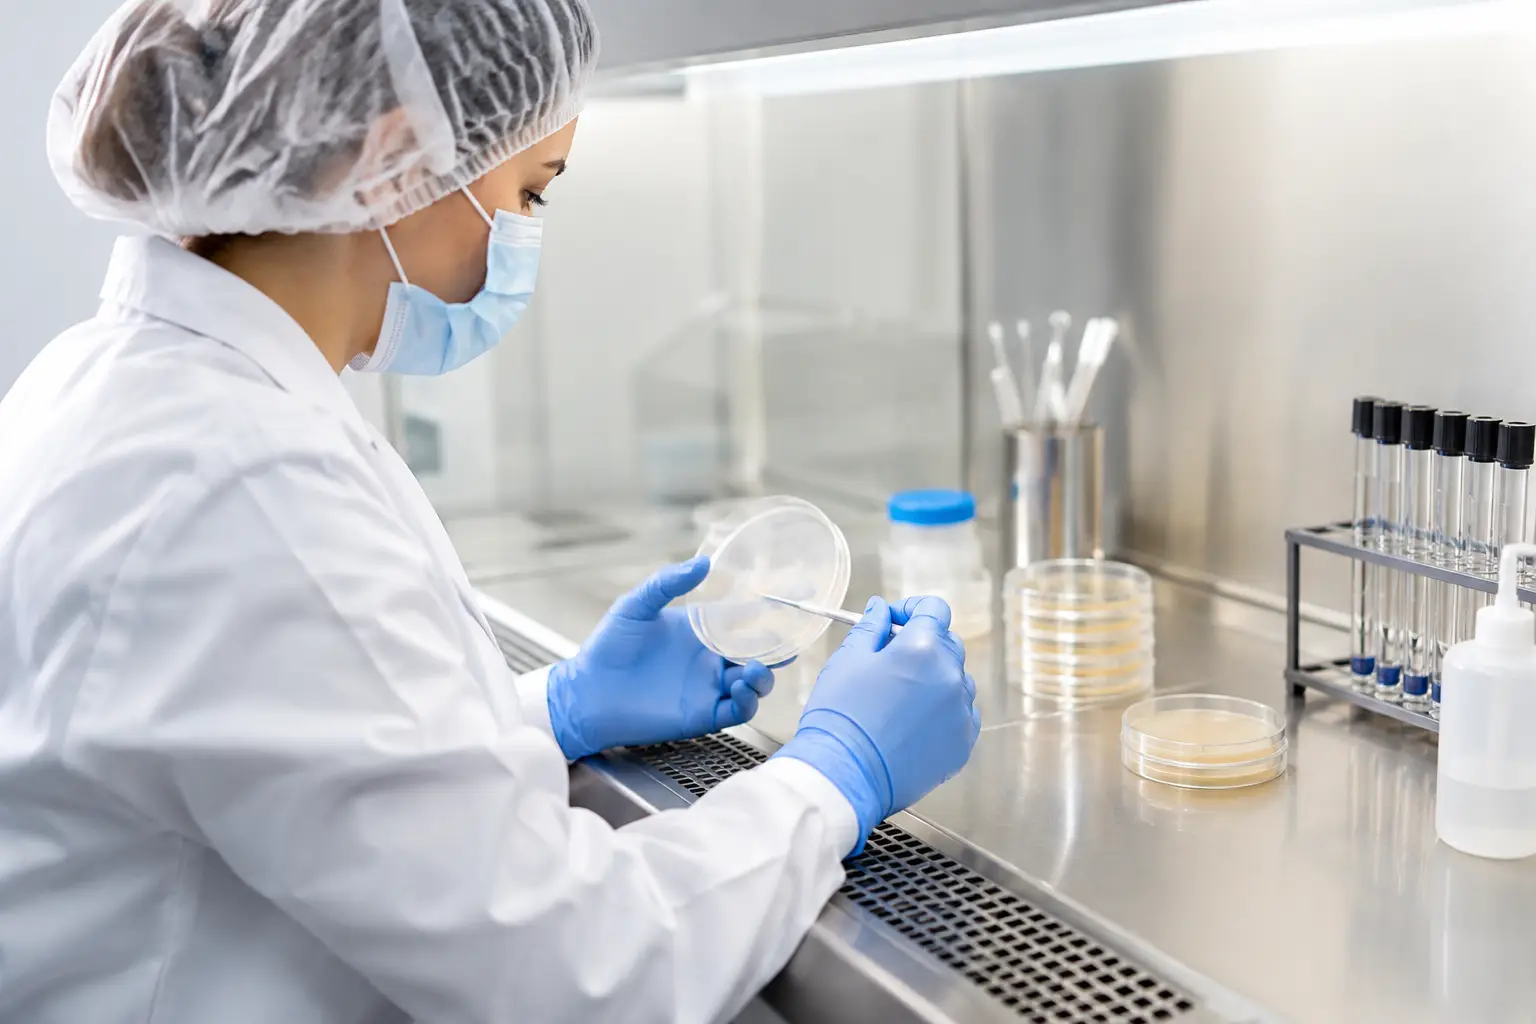
A single airborne mold spore can turn a promising plate, jar, or liquid culture into a frustrating loss. The goal when you prepare a sterile culture workspace is not to make your entire home laboratory-grade sterile. It is to create a controlled, repeatable zone where clean culture work has the best possible odds.
For hobby cultivators, the difference often comes down to workflow. A clean bench, organized tools, and a realistic understanding of air movement will do more for consistency than rushing into an expensive setup. Start with the space you have, build good habits, and upgrade equipment when your volume and goals justify it.
Prepare a Sterile Culture Workspace Before You Start
Sterility is a high standard. In a home setting, what you are usually building is an aseptic workspace: a clean area with fewer contaminants, limited airflow, and a methodical process. That distinction matters because it keeps expectations practical. You cannot control every microbe in a room, but you can avoid introducing unnecessary contamination at the exact moment a culture vessel is open.
Choose a small room or corner that is easy to clean and has minimal traffic. A bathroom can work if it is freshly cleaned, dry, and not being used immediately before culture work. A bedroom or spare room is often better because it tends to have less humidity and fewer surfaces exposed to water. Avoid kitchens, basements with visible dust, rooms with open windows, and areas near fans, pets, laundry, or houseplants.
Give the room time to settle. Turn off ceiling fans, HVAC airflow if possible, air purifiers that create a direct draft, and anything else that stirs the air. Do not sweep or vacuum right before working. Those tasks send settled particles upward, exactly where you do not want them.
Clean the work surface with soap and water first if there is any visible residue. Then use a suitable disinfectant according to its label directions. Isopropyl alcohol is useful for wiping down nonporous tools and surfaces, but it works best on a surface that is already physically clean. Let the surface air-dry rather than immediately wiping it away.
Choose the Right Air-Control Setup
Your workspace needs depend on what you are doing. Transfers between agar plates, inoculating sterile media, and handling culture containers all benefit from a protected working zone. Two common options are a still-air box and a laminar flow hood.
Still-Air Boxes for Small-Batch Work
A still-air box, often called a SAB, is a clear tote modified with arm holes. It does not create sterile air. Instead, it protects the work area by preventing drafts and allowing airborne particles to settle before you begin. For many home growers working with a few plates or jars at a time, a properly used still-air box is a smart, budget-friendly starting point.
Wipe the inside and outside before each session. Place all required items inside before you begin, then allow the air to become still for several minutes. Move slowly once your hands are inside. Quick movements create turbulence, which can carry contaminants across open culture vessels.
Do not use an open flame inside a still-air box. Heat can damage the plastic, and the confined environment is not appropriate for flame work. If a tool needs heat sterilization, do it outside the box, allow it to cool, and then proceed with a clean workflow. Many cultivators reduce the need for repeated heating by using sterile disposable scalpels or pre-sterilized tools for individual sessions.
Laminar Flow Hoods for Frequent Culture Work
A laminar flow hood pushes HEPA-filtered air in a smooth, consistent direction across the work surface. It is a serious upgrade for people making frequent agar transfers, maintaining larger culture libraries, or preparing multiple units in a session. The trade-off is cost, size, noise, and the need to understand proper placement.
A flow hood is only as useful as its filter, blower performance, and technique. Keep your work close to the filter face, avoid blocking the airflow with large objects, and work in an orderly line from clean items toward items that have been opened or handled. Even filtered airflow cannot rescue poor cleaning habits or cluttered setup.
Build a Clean Workflow, Not Just a Clean Table
The strongest contamination control happens before the first container is opened. Set out only what the session requires: culture plates or jars, sterile media, labeling materials, gloves if you use them, alcohol, wipes, and the tools needed for the specific transfer. Extra items create clutter and give contaminants more surfaces to ride in on.
Label culture vessels before opening them. Include the culture name or identifier, date, transfer number if relevant, and any note that will help you track performance later. Trying to write on a plate or jar after you have started handling open cultures adds unnecessary movement and distraction.
Arrange materials in the order you will use them. Put clean, unopened items in one area and completed or potentially exposed items in another. This simple separation prevents a common mistake: touching a used item and then returning to a clean tool without realizing it.
Your personal prep matters too. Showering is not required for every session, but clean hands, freshly washed forearms, and clean clothing are worthwhile. Avoid loose sleeves, fuzzy fabrics, and anything that sheds. Tie back long hair. If you wear gloves, sanitize them regularly and treat them as another surface that can become contaminated. Gloves do not replace handwashing or careful technique.
Before entering the workspace, silence your phone or leave it outside. Culture work rewards focus. Reaching for a phone, opening a door, or stepping away midway through a transfer breaks the clean sequence you just established.
Technique That Protects Cultures
When working with agar plates, open lids only as far and as long as necessary. Keep the lid positioned as a shield over the plate whenever possible rather than setting it flat on the table. Make your transfer, close the plate, and move it to the finished side of the workspace.
For jars, bottles, and other containers, avoid hovering directly over an open opening. Keep movements deliberate, but not hesitant. The longer an opening sits exposed, the more opportunity there is for airborne particles to settle inside.
Sanitize tools between separate cultures. If you are using reusable metal tools, follow a sterilization method appropriate for the tool and setup. Allow a heated tool to cool before it touches culture material. A tool that is too hot can damage the sample and create misleading results that look like poor culture performance.
Avoid talking, coughing, or breathing directly toward open vessels. You do not need to hold your breath or treat the process like a surgical procedure. Just position yourself intelligently and keep open work brief. In a still-air box, slow hands and short exposure time matter more than elaborate motions.
Common Mistakes That Undermine a Clean Setup
A workspace can look spotless and still perform poorly when the process is inconsistent. One frequent issue is overusing alcohol. Alcohol sanitizes surfaces, but spraying it constantly into the air does not create a sterile environment and may introduce fumes or moisture where they are not needed. Wipe surfaces, let them dry, and focus on controlled air and careful handling.
Another mistake is working immediately after cleaning the room. Let the area settle. A freshly wiped table is useful, but dust and fibers disturbed during cleaning may still be floating nearby.
Clutter is equally costly. A crowded box or flow hood makes it hard to maintain clean and dirty zones. It also increases the chance that your hands will bump an item, block airflow, or drag a sleeve across something you intended to keep clean.
Finally, do not assume every failure comes from the workspace. Contamination can originate in the culture source, the media, a flawed container seal, or a sterilization issue earlier in the process. Keep notes on each batch, including dates, tools used, media type, and environmental changes. Patterns reveal more than guesswork does.
Stock Supplies That Support Consistency
The best workspace is the one you can reset quickly. Keep a dedicated bin or shelf for culture work so your supplies are not scattered across the house. Basic restocking usually includes gloves, wipes, alcohol, labels, markers, sterile tools, agar plates or media containers, and disposal bags.
If you are building out a home lab, buy tools according to your actual workflow. A still-air box and quality sterile consumables may produce better results than a large collection of gear used inconsistently. As your projects grow, Myceli Nation can be a useful source for culture-ready supplies and the wider mycology essentials that keep your setup moving.
A clean culture workspace is less about chasing perfection than repeating the same disciplined process every time. Settle the room, simplify the bench, control the air, and let your technique do the rest. The next clean transfer starts long before you lift the lid.