
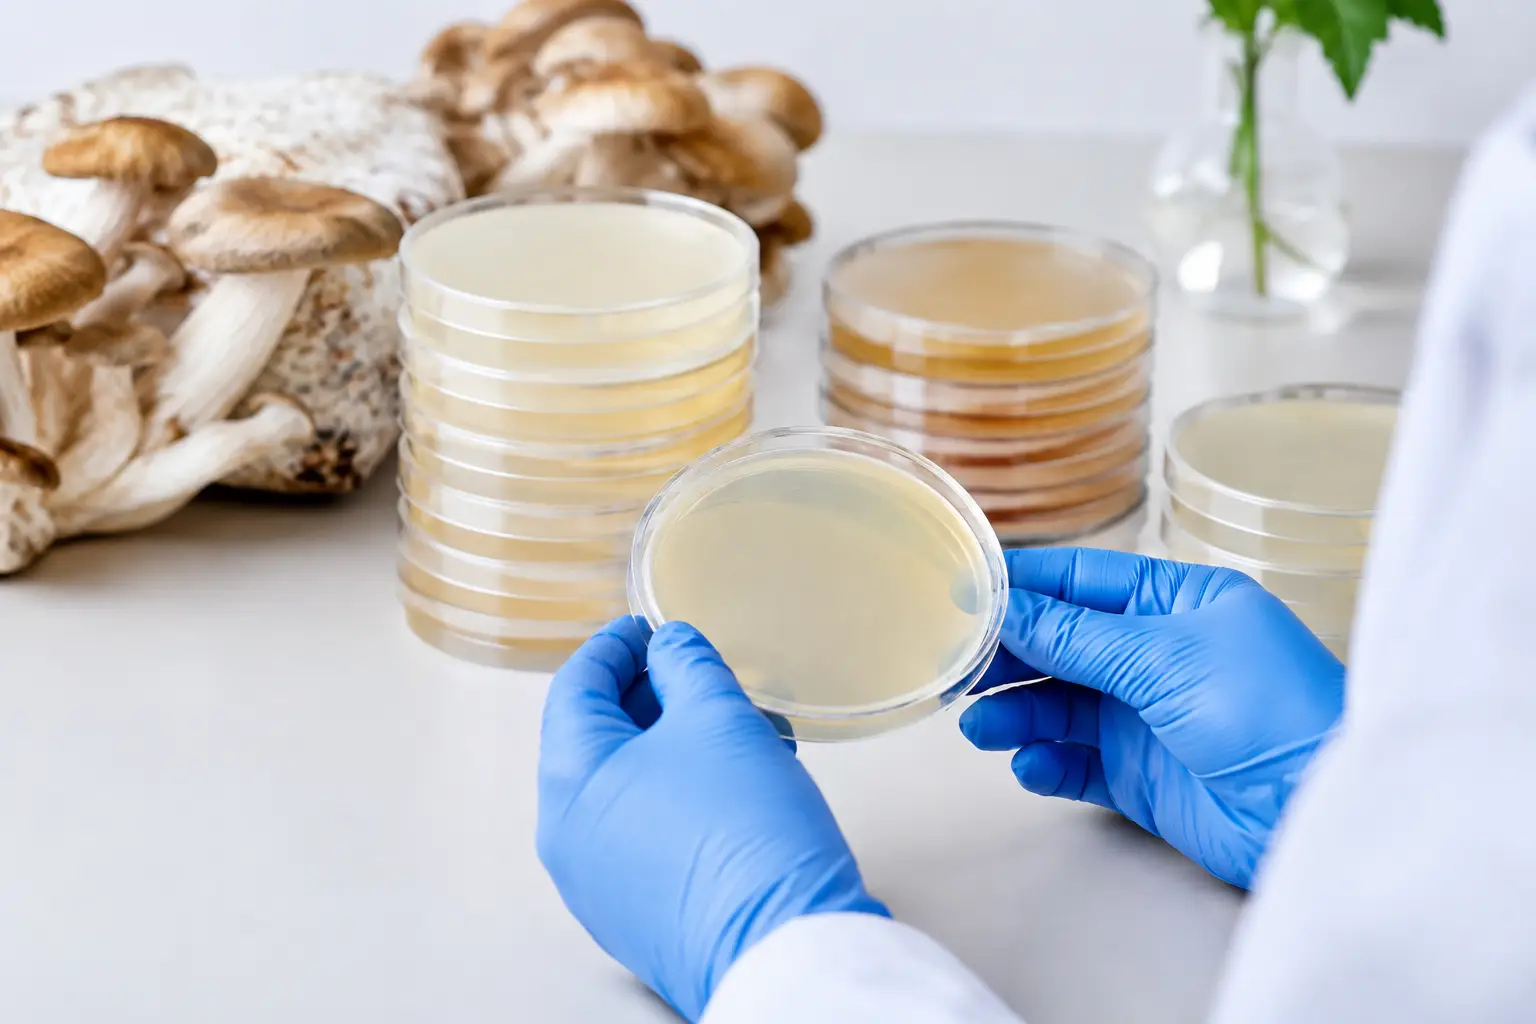
A plate that looks clean can still be the wrong plate for the job. A fast-growing culture on a rich recipe may be perfect for building inoculum, yet too dense to reveal a weak sector or early contamination. Knowing how to select agar plates means choosing a medium that gives you useful information, not just visible growth.
For hobby cultivators, agar is where a culture becomes easier to read, isolate, and preserve. Whether you are starting from a print, cloning a strong fruiting body, cleaning up a transfer, or expanding an established edible culture, the plate formula affects what you see next. The best choice is not always the most nutrient-rich option. It depends on the material in front of you and the decision you need to make from it.
Start With the Job, Not the Plate Color
Before choosing a dish, define the purpose of the transfer. Agar plates generally serve four different jobs: germinating spores, cloning tissue, cleaning a culture, and expanding a clean culture. These jobs overlap, but they do not demand exactly the same media.
For germination, you want enough nutrition to encourage early growth without turning the entire plate into a dense, hard-to-read colony too quickly. For cloning, a nutritious medium helps healthy tissue recover and send out growth. For cleanup work, lower-nutrient agar can slow everything down enough for you to distinguish desirable mycelium from unwanted growth. For expansion, a dependable general-purpose recipe is usually all you need.
This is why a stack of identical plates is convenient but not always ideal. Keeping two or three agar types on hand gives you more control when a culture behaves differently than expected.
How to Select Agar Plates by Nutrient Level
Nutrient level is the first major variable. Rich media can support vigorous growth, but it can also allow contaminants to establish quickly and make crowded cultures harder to evaluate. Leaner media often produces slower growth, which is useful when you need a clearer picture of colony structure.
Malt Extract Agar for Everyday Culture Work
Malt extract agar, commonly called MEA, is a reliable default for many mushroom culture projects. It provides carbohydrates from malt extract and supports visible, consistent mycelial growth. If you are making routine transfers, recovering a clone, or expanding a culture that already looks clean, MEA is a practical choice.
Because it is broadly useful, MEA is often the plate many growers reach for first. That said, rich MEA can move fast. If the starting sample carries bacteria or mold, those organisms may also take advantage of the food source. Use it when your source material is reasonably clean or when fast recovery matters more than detailed isolation.
Potato Dextrose Agar for Vigorous Growth
Potato dextrose agar, or PDA, is another nutrient-rich option. It can encourage strong growth and is commonly used for cloning and general culture maintenance. Its potato base provides a slightly different nutritional profile from malt extract, and some cultivators prefer the growth pattern it produces with certain edible species.
PDA is not automatically better than MEA. Think of it as another dependable rich medium rather than a universal upgrade. If a culture performs well on MEA, there may be no reason to switch. If you are comparing growth characteristics or trying to recover tissue from a fresh clone, PDA can be worth testing alongside it.
Light Malt Extract Agar for Cleaner Reads
Light malt extract agar, often called LMEA, uses less nutrient than a standard rich plate. It is a smart option when you want mycelium to grow with more definition and less density. This can make it easier to spot sectors, compare leading edges, and take clean transfers from a mixed plate.
Lower nutrition does not sterilize a dirty sample or replace clean technique. It simply gives you a little more visual separation and a little more time to make good transfer decisions. For growers working from prints, environmental samples, or questionable tissue, that slower pace can be valuable.
Water Agar for Isolation Work
Water agar contains little more than agar and water. It is intentionally lean, and it is most useful when you are trying to separate viable mycelium from a messy starting point. The goal is not fast expansion. The goal is to encourage fine growth that can move away from some contaminants before being transferred onto a more nutritious plate.
Water agar is a specialized tool, not your primary culture medium. Once you isolate a clean leading edge, transfer it to MEA, PDA, or another nutrient-containing medium so the culture can develop normally.
Match the Agar to Your Starting Material
The condition of your source should influence your plate choice as much as the species does. Clean wedge transfers from an established plate are usually straightforward. A standard MEA or PDA plate is appropriate because you are mainly expanding known material.
Fresh inner tissue from a healthy mushroom is different. It benefits from a rich plate that helps it recover, but it still deserves close observation. Take tissue from the protected interior rather than the exterior surface, then place several small pieces on separate plates. Multiple plates improve your odds without forcing you to gamble the whole project on one dish.
Prints and other dry starting materials call for patience. Germination can be uneven, and the first growth is rarely a finished culture. A lighter plate can make early growth easier to separate, followed by transfers to a richer medium once you have a clean section.
If a plate already shows bacterial slime, sour-looking wet patches, or aggressive mold, do not expect a richer plate to solve the problem. Selective work on lower-nutrient or water agar may help isolate a clean edge, but sometimes the efficient call is to return to a cleaner source.
Choose Plate Size and Format With Your Workflow
Agar recipes matter, but so does the physical dish. Standard 90 mm petri dishes provide ample room to observe radial growth, isolate sectors, and take multiple transfers. They are the most versatile choice for routine home culture work.
Smaller plates use less media and take up less storage space. They can be useful for a simple tissue test or a single transfer, but they fill quickly. If you are screening germination or expecting mixed growth, a full-size plate gives you more room to work before colonies collide.
Pre-poured plates offer speed and convenience, especially if you want to focus on culture work rather than media preparation. They are also useful for new growers who are still building confidence with sterile procedures. Pouring your own plates costs less over time and lets you adjust nutrient levels, but it adds another process where cleanliness and consistency matter.
Look for plates that are clear enough to inspect from both sides, sealed appropriately, and free from excess condensation. A little moisture can happen, especially after shipping or temperature changes. Heavy pooling is less useful because it allows material to slide across the surface and can blur growth patterns.
Additives Have a Place, Not a Magic Fix
Some agar plates include additives such as activated charcoal, food coloring, yeast extract, or antibiotics. These can be useful, but they should match a real purpose.
Dark-colored agar can improve contrast with pale mycelium and make contamination easier to see. Yeast extract can add nutrients for cultures that respond well to a richer recipe. Activated charcoal is sometimes used in specialty media, though it can make visual assessment more difficult depending on the culture.
Antibiotic agar deserves extra restraint. It may suppress certain bacteria, but it does not address molds, poor sterile technique, or a contaminated workspace. It can also hide a problem long enough to create false confidence. For most hobby workflows, good handling practices, proper plate selection, and clean transfers deliver better results than treating every culture with additives.
Read the Plate Before You Make the Next Transfer
Selecting agar plates is only half the process. The plate must also tell you what to do next. Healthy mycelium often expands outward from the inoculation point in a consistent pattern, though texture and speed vary by culture. Look at the leading edge rather than judging the whole colony at once. That outer edge is usually the best place to take a clean transfer.
Watch for sudden color changes, wet or glossy areas, irregular growth that races ahead of the colony, and patches that do not match the expected texture. These signs do not always identify the exact issue, but they tell you the plate needs closer attention.
Label every dish with the culture name, medium, date, and transfer number. When you compare two agar formulas later, those details turn a vague impression into a useful record. A clean culture library is built one well-labeled transfer at a time.
For most growers, a practical starting lineup is simple: standard MEA for reliable expansion, a lighter agar for cleanup and isolation, and a few rich plates reserved for tissue clones. Build from there as you learn how your favorite cultures respond. The right plate is the one that makes your next choice clearer.