
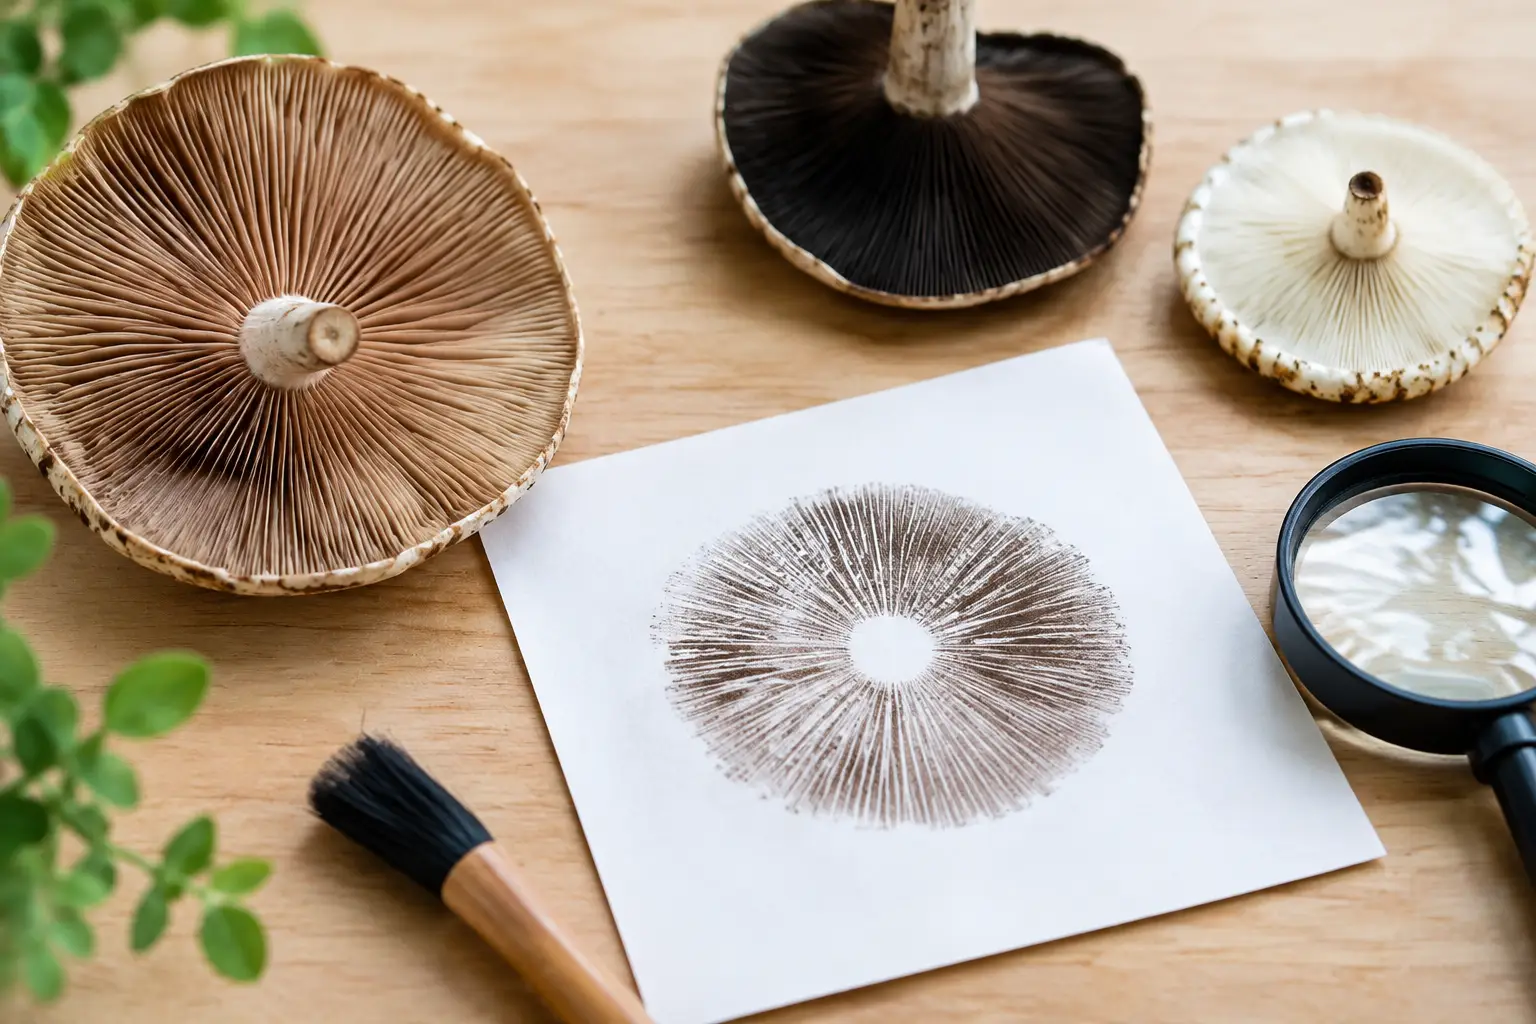
A spore print can turn a mushroom cap into a useful field note. Learning how to read spore print color and pattern gives you a stronger starting point for sorting finds, comparing specimens, and building better microscopy records. It is not a shortcut to positive identification, though. A clean print is one feature in a larger picture that includes gills or pores, stem details, bruising, habitat, season, odor, and microscopic traits.
For collectors and cultivation-minded enthusiasts, the value is in the details. A print that looks simply brown under warm kitchen lighting may reveal a rusty brown, chocolate brown, or purple-brown deposit on white paper. Those distinctions can narrow a group quickly – provided the print was made carefully and read under the right conditions.
Start With a Clean, Full Spore Print
Before you can interpret a print, make sure it is worth interpreting. Choose a mature, fresh cap with intact gills, pores, or teeth. Very young mushrooms may not have released spores yet, while overmature specimens can be wet, decayed, contaminated, or already shedding spores unevenly.
Remove the stem with a clean blade and place the cap spore-bearing side down. Half white paper and half black paper is a classic setup because pale deposits show better on dark paper and dark deposits show better on white. A glass slide, foil, or clean nonporous card can also work, especially when you want to preserve a sample for microscopy.
Cover the cap with a cup or bowl to reduce drafts and keep the surface from drying too fast. Leave it for several hours or overnight. Humidity, cap maturity, and species all affect timing. A cap that produces almost nothing after a full night may be immature, too dry, or simply a low spore producer.
When you lift the cap, avoid smearing the deposit. The first look should tell you whether the print is dense and even, faint but usable, or compromised by moisture and debris.
How to Read a Spore Print Color
Color is the first trait most people notice, and it is genuinely useful when observed with care. Read the densest central portion of the print first. Thin outer edges often appear lighter than the true deposit, particularly when spores are sparse.
Use neutral daylight or a daylight-balanced lamp. Yellow indoor bulbs can push cream, pink, and brown prints toward the wrong family of colors. If possible, compare the print against both white and black backgrounds. A pale cream deposit may nearly disappear on white but stand out clearly on black, while a dark deposit can look more accurate against white.
Common color families include white to cream, pink to salmon, rusty orange to cinnamon, brown, purple-brown, black, and very dark gray. These are broad categories, not final answers. For example, brown and purple-brown can be difficult to separate without good lighting, and a heavy black print may hide subtle warm undertones.
Write down what you actually see rather than forcing a label. Notes such as pale cream, dusty salmon, rusty orange-brown, or deep purple-brown are more useful than calling every dark print black. Taking a photo beside a neutral white reference card can also make later comparison easier.
Why the Paper Color Matters
The surface beneath the spores changes your perception. White spores on white paper can look absent. Black spores on black paper can look faint or dull. This is why split-color paper is practical, but it still has limits: the seam can interrupt a small print, and glossy surfaces can create glare.
For especially light prints, use dark paper or a clear glass slide placed over a black backing. For darker prints, white index card stock offers a matte surface that makes color easier to judge. Avoid heavily textured paper, printed materials, and brightly colored cardstock, which can distort the result.
Read the Deposit Pattern, Not Just the Shade
A spore print is often more than a colored circle. Its pattern can reflect the structure under the cap. Gilled mushrooms commonly leave radiating lines, while pore-bearing mushrooms may leave a more even, powdery field. Species with teeth or ridges can create less familiar patterns that are still worth documenting.
The pattern does not identify a mushroom by itself. A blurred or incomplete print can result from a tilted cap, air movement, condensation, or a cap that dried out before depositing evenly. Still, a clear radial pattern confirms that spores were released from gills, and it can help you match the print to your observations of the specimen.
Look for density as well. A thick, opaque deposit suggests abundant spore release, while a very light trace may require longer exposure or a more mature cap. Do not mistake a wet stain for a dense print. Spores usually look dry and dust-like, whereas moisture can create translucent patches, bleeding color, and muddy edges.
Separate Real Color From Contamination
The cleanest print is made from a clean, dry specimen. Dirt, insect activity, decaying tissue, and cap moisture can all change the appearance of the deposit. If a print shows random dark flecks, fuzzy growth, or wet yellowish smears, treat it as a flawed record rather than reliable evidence.
Condensation is a common problem. When a cap is covered in a humid room, droplets may form inside the cover and fall onto the print. The result can look like unusually vivid color, but the spores have actually been dissolved or spread across the surface. Use a cover with enough space above the cap, and check that the mushroom is not dripping wet before setting it down.
Cross-contamination matters too. Do not make several prints on the same sheet without clear separation. Spores travel easily on air currents, fingers, and tools. Label each print immediately with the date, location or source, cap description, and any observations about the underside. A mystery print without a specimen note loses much of its value.
Use the Print to Narrow, Never Confirm Alone
Spore print color is best used as a filter. If your field notes suggest several possible groups, the print can rule out options that have a completely different spore color. It becomes even more useful when paired with a careful look at attachment of the gills, presence or absence of a ring, stem base features, cap surface, and where the mushroom was growing.
There are important exceptions. Color can vary with lighting, maturity, and print thickness. Closely related mushrooms may share the same general print color, and unrelated mushrooms can overlap as well. A white print, for instance, describes a broad range of mushrooms with very different characteristics.
For this reason, never use a spore print as the only basis for deciding whether a wild mushroom is edible. Identification should rely on multiple verified traits and, when needed, local expert confirmation. If there is uncertainty, keep the specimen for study rather than making a consumption decision.
Take the Next Step With Microscopy
Once you have a print, microscopy can reveal traits that color cannot. Spore shape, size, wall thickness, surface texture, and reaction to staining methods can help separate look-alikes that share similar caps and print colors. This is where a well-preserved print becomes more than a quick observation.
For a slide sample, transfer only a tiny amount of spores with a sterile needle or fine tool. A heavy pile is harder to view than a thin, even scatter. Keep notes on magnification, measurements, and what you observe. Over time, these records create a personal reference library that is far more useful than relying on memory or photos alone.
If you are working with prints for research, collecting, or microscopy practice, handle them gently and store them dry. Foil is a popular storage surface because it folds neatly and can be kept in a labeled bag or envelope. Paper works well for visual records, but loose spores can rub off during handling.
A Simple Record Makes Every Print More Useful
A good spore print record connects the deposit to the mushroom that produced it. Include the date, general location or growing medium, cap diameter, underside type, observed print color, and a photo of the fresh specimen if you have one. Add notes about weather and maturity when relevant.
This habit is especially helpful when you compare multiple specimens that seem similar at first glance. A collection of labeled prints quickly shows which traits stay consistent and which change with age or conditions. That is the kind of practical pattern recognition that makes mycology more rewarding.
Myceli Nation is built for enthusiasts who want to keep learning, comparing, and refining their technique across the wider mycelium network. Treat every print as one useful clue, make clean records, and let careful observation lead the next question.