
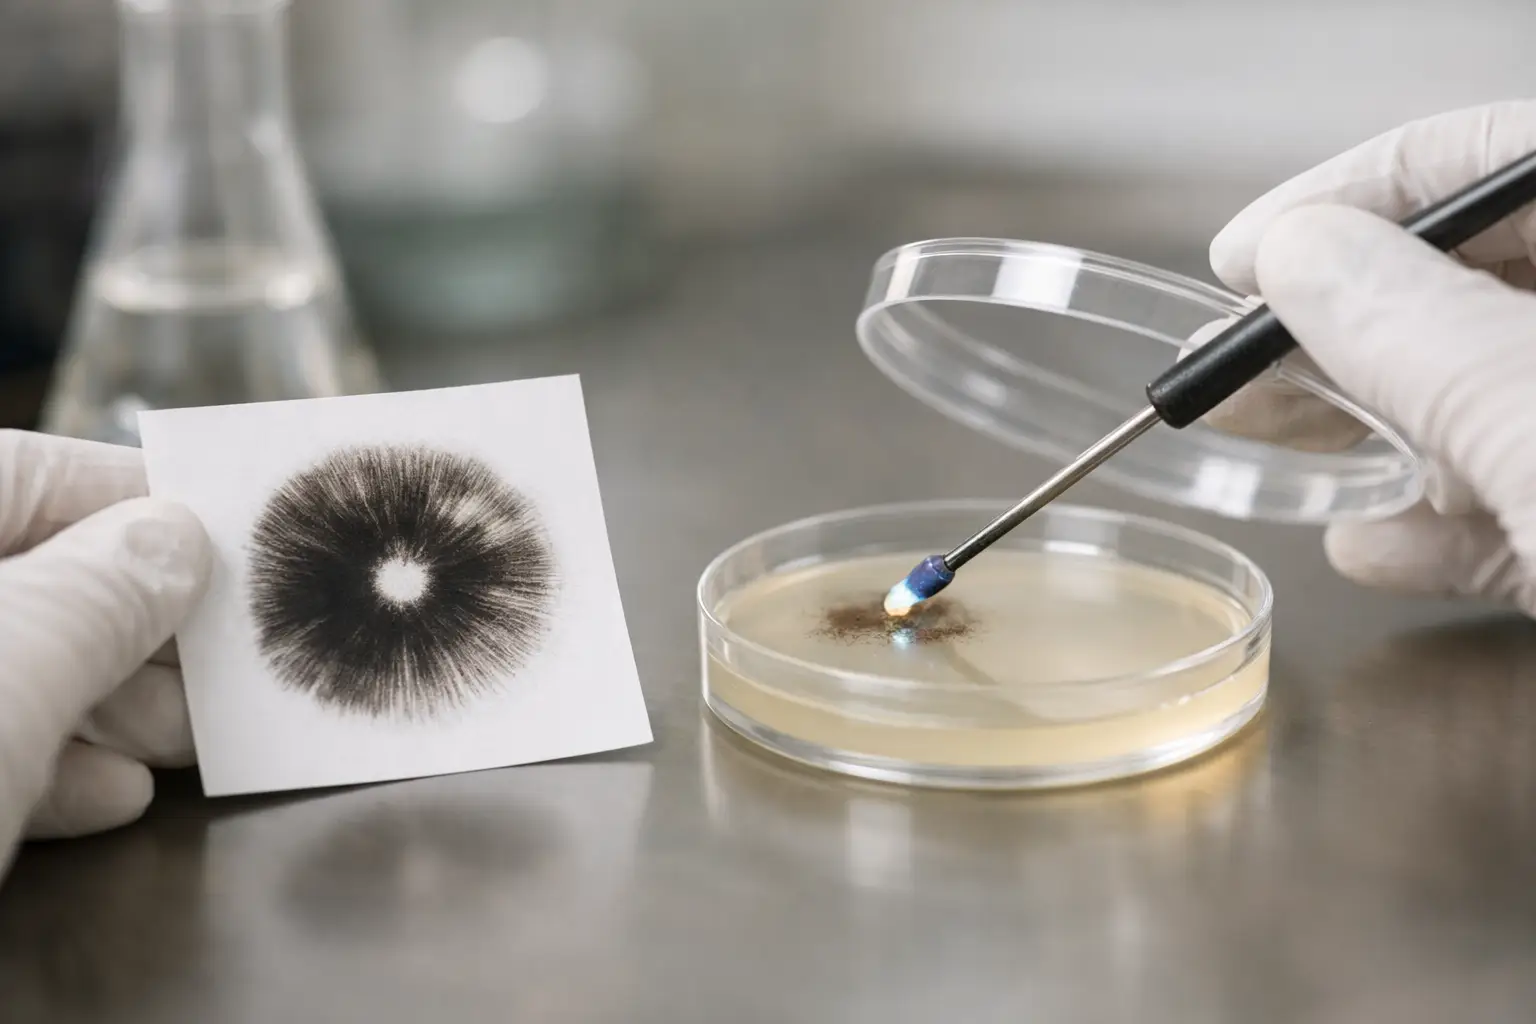
A clean plate tells you the truth fast. When you transfer spore prints to agar, you get a direct look at what is actually growing, which is why many cultivators prefer agar work over blind inoculation methods when they want better selection and cleaner results.
For anyone building a more reliable workflow, agar is where random potential starts turning into visible growth patterns. You can separate healthy mycelium from weak sectors, spot contamination early, and make smarter decisions before moving into grain or liquid culture. That extra step takes a little more patience, but it usually saves time, materials, and frustration later.
Why move spore prints to agar?
A spore print carries a lot of possibility, but it also carries uncertainty. Spores are not a pure culture, and they do not germinate into a uniform colony. When they land on agar, you are usually looking at multiple genetics competing across the same surface, along with the chance of hitchhiking contaminants from collection, storage, or handling.
That is exactly why agar is useful. Instead of guessing, you can observe. Germination shows up on the plate, contamination often reveals itself early, and promising growth can be transferred away from problem areas. If your goal is cleaner expansion and more control, agar gives you a working view of the culture rather than a mystery inside a jar.
For hobbyists shopping by format, this is also the practical difference between owning a print and actually working it into a usable culture. A print is compact, collectible, and easy to store. Agar is the stage where that print becomes actionable.
What you need before transferring spore prints to agar
This step does not require a full lab, but it does reward good habits. You want pre-poured agar plates or freshly poured plates that have cooled and set properly, a sterile scalpel or inoculation loop, gloves, alcohol for surface prep, and a still-air box or another controlled workspace. Many growers also keep parafilm or plate tape nearby to seal dishes after inoculation.
The condition of the print matters too. A clean, well-stored print is easier to work with than one that has seen humidity swings or repeated handling. If the print is dense, you only need a very small amount of spore material. More is not better here. Heavy inoculation can create crowded germination and make it harder to isolate clean growth.
Plate choice matters a bit more than beginners sometimes expect. A standard nutrient-rich agar recipe works well for germination, but if you already know a print may be messy, a lower-nutrient plate can slow aggressive contaminants enough to make transfers easier. It depends on your comfort level and how much cleanup work you expect.
The actual transfer: spore prints to agar step by step
Start with the cleanest workspace you can manage. Wipe down your work surface, prepare your tools, and organize everything before opening the print or plates. The more you fumble mid-transfer, the more chances you give airborne junk to land where it should not.
If you are using a scalpel, sterilize the blade first and let it cool. Then open the print just enough to access a small section. Lightly scrape a tiny amount of spores from the print. You are not trying to carve out a visible pile. A faint dusting is enough.
Crack the agar plate lid just enough to work, then touch the blade to the agar surface in a few spots or make a gentle zigzag across one area. Some cultivators prefer placing spores in one small section so they can track germination more easily. Others spread them lightly across the plate for multiple starting points. Both can work. If you are newer to agar, keeping the inoculation area compact usually makes observation simpler.
Close the plate quickly and seal it. Label it with the variety, date, and any notes about the print source. Then incubate it in a stable environment at a reasonable room temperature. Avoid overheating. Warm does not automatically mean faster, and excess heat can favor contamination just as easily as growth.
What germination looks like on agar
This is where patience starts doing real work. Spores do not always germinate on the same timeline, and different prints can behave very differently. Some show life fairly quickly. Others take longer than expected even under good conditions.
Early germination often appears as very fine, faint growth – almost wispy at first. As it develops, you may see multiple points of growth expanding outward and eventually intersecting. Since spores represent mixed genetics, this stage rarely looks perfectly uniform.
Contamination can show up before or after germination. Bacterial issues may look wet, shiny, or irregular. Mold contaminants often present as fast-growing growth with unusual texture or colors. The value of agar is not that it magically prevents these issues. The value is that you can see them while there is still room to respond.
When and how to make your first transfer
The first plate from a print is usually just the beginning. If your germination plate shows healthy-looking mycelium and areas that appear clean, the next move is to transfer a small wedge from the leading edge of promising growth onto a fresh plate.
Take that wedge from the outer edge, not the crowded center. The center is where spores first landed and where contaminants, competing sectors, or messy growth are most likely to be concentrated. The cleaner edge gives you a better chance of carrying forward the strongest visible growth while leaving junk behind.
This is also where restraint matters. A tiny transfer is better than a bulky chunk. Small cuts are easier to place, recover faster, and reduce the chance of bringing over contamination you did not notice.
You may need multiple rounds of transfers before a plate looks consistently clean and uniform enough for further work. That is normal. Agar work rewards repetition more than speed.
Common mistakes with spore prints to agar
The most common mistake is using too many spores. A thick streak can turn the plate into a traffic jam of germination points, making it harder to identify clean sectors and easier for contamination to hide.
The second is opening plates too wide or too long. Even a good agar recipe cannot save sloppy sterile technique. Controlled movement matters more than fancy gear.
Another mistake is transferring too early or too late. If you move growth before it is clearly established, you may not get a strong recovery. If you wait too long, fast growth can overrun the plate and make clean isolation harder. There is a sweet spot where the edge is active, visible, and still separated enough to work with.
People also misread normal variation as a bad plate. Spore germination often creates uneven sectors at first. That does not automatically mean the culture is unusable. It means you may need another transfer or two before the plate settles into something cleaner.
Choosing between prints, syringes, and cultures
For shoppers comparing formats, spore prints to agar can be one of the most flexible starting points if you like hands-on culture work. Prints store well, ship compactly, and give you the chance to begin from a broad genetic pool. That is appealing if your interest is in observation, selection, and building a culture library step by step.
Spore syringes can feel more immediate, but they still carry many of the same uncertainties as prints because they begin with spores rather than a clean isolate. Established cultures offer more predictability, though they trade some of that early-stage selection for convenience.
So the right format depends on what kind of cultivator you are. If you want maximum control at the plate level, prints and agar make sense. If you want a faster on-ramp, another format may fit better. A solid shop should make all of those options easy to compare, whether you are browsing fan favorites, trying a new variety, or stocking up on plate-ready materials.
Building a better agar workflow over time
Once you have done a few transfers, patterns start becoming obvious. You learn how little spore material you really need, how different plates behave, and how much cleaner your downstream work becomes when you start with a better agar culture.
That is the real advantage here. Moving from spore prints to agar is not just a technique. It is a filter. It helps you screen, select, and organize your work with more confidence, whether you are testing a new print or refining a repeatable process inside your own setup.
If you are building out your bench one piece at a time, start simple and get consistent before adding complexity. Clean hands, clean plates, careful transfers, and good notes will take you further than chasing shortcuts ever will.
Agar has a way of rewarding the growers who slow down just enough to see what the culture is telling them.