
A clear field of view starts long before you put a slide under the objective. Knowing how to disinfect microscopy tools helps protect your samples from cross-contamination while keeping delicate optics, metal tools, and your workspace in good shape. The goal is not to soak everything in one harsh chemical. It is to use the right method for the right surface, every time.
For microscopy-focused growers and collectors, that difference matters. A contaminated pair of forceps can transfer debris from one print or sample to the next. A cleaner sprayed directly onto an objective can leave residue, damage coatings, or work its way into the microscope body. Good bench habits are simple, but they need to be specific.
Disinfecting vs. Sterilizing: Know the Difference
Disinfection reduces the number of microorganisms on a surface to a safer level. Sterilization is a higher standard that eliminates all viable microorganisms, including resistant forms. Your microscope, eyepieces, bench tools, and work surface usually need careful cleaning and disinfection. Items that will directly contact sensitive culture work may require sterilization instead, depending on the material and your process.
Do not treat these words as interchangeable. Wiping a metal spatula with 70% isopropyl alcohol is useful disinfection. Running a heat-safe tool through an appropriate sterilization process is another level entirely. The correct choice depends on whether you are handling a dry print, preparing a basic slide, transferring material, or working with a more contamination-sensitive setup.
Set Up a Clean Microscopy Zone First
Start by clearing the bench. Paper scraps, old tape, specimen packaging, and loose fibers all create places for debris to collect. Remove anything you do not need before bringing out slides, forceps, scalpels, swabs, or sample containers.
Wash your hands thoroughly, then put on fresh disposable gloves if you will be handling samples. Gloves are not magic – they can carry contamination from a phone, doorknob, or keyboard just as easily as bare hands. If you touch something outside the work zone, change gloves or disinfect them according to the product instructions before returning to the bench.
Wipe the work surface with a suitable surface disinfectant and let it remain wet for its stated contact time. This step gets skipped constantly. A disinfectant needs time on the surface to do its job, so wiping it off immediately may reduce its effectiveness. Let the bench air-dry when possible, then place down a fresh, clean work mat or disposable bench liner.
How to Disinfect Microscopy Tools by Material
One cleaning method does not fit every piece of gear. Identify what the item is made of and whether it will touch a sample before you reach for alcohol, bleach, heat, or a general-purpose cleaner.
Metal forceps, scalpels, and inoculation tools
For stainless steel forceps, spatulas, and similar hand tools, remove visible residue first. Use a clean lint-free wipe dampened with water or a mild detergent solution if needed, then dry the tool before disinfecting it. Dirt and organic material can block disinfectants from reaching the surface underneath.
A 70% isopropyl alcohol wipe is a practical choice for routine tool disinfection. Wipe all working surfaces, including the inside tips of forceps, and allow them to air-dry. Avoid wiping a freshly disinfected tool on a towel or setting it on an unclean bench.
If a tool is rated for heat or sterilization, use the process recommended for that material and let it cool completely before use. Never heat tools near alcohol or other flammable cleaners. Keep a designated clean area for cooled tools so they do not pick up dust before they reach the slide or sample.
Glass slides, cover slips, and slide holders
New slides and cover slips are often clean enough for basic viewing, but they can still collect dust, fingerprints, and fibers once opened. Handle them by the edges. If a slide needs cleaning, use a lint-free lens tissue or clean wipe with a small amount of suitable cleaner, then let it dry fully.
For reusable glassware, wash away residue before disinfection. Alcohol can help with routine cleaning, but it will not remove dried mounting media, oils, or heavy debris on its own. Reusable slides must be free of streaks before microscopy, since residue can look like structures under magnification and make your read less reliable.
Plastic tools and sample containers
Plastic transfer tools, slide boxes, specimen containers, and disposable loops vary widely in chemical resistance. Alcohol is usually tolerated by many hard plastics, but repeated exposure can cloud, crack, or weaken certain materials. Test an inconspicuous area if you are unsure, and always check the manufacturer guidance for reusable equipment.
Disposable items are often best kept disposable. Trying to rescue a low-cost swab, pipette, or thin plastic loop can introduce more uncertainty than it saves. Keep clean items sealed until use, and discard used disposables promptly in accordance with local waste guidance.
The microscope body, stage, and controls
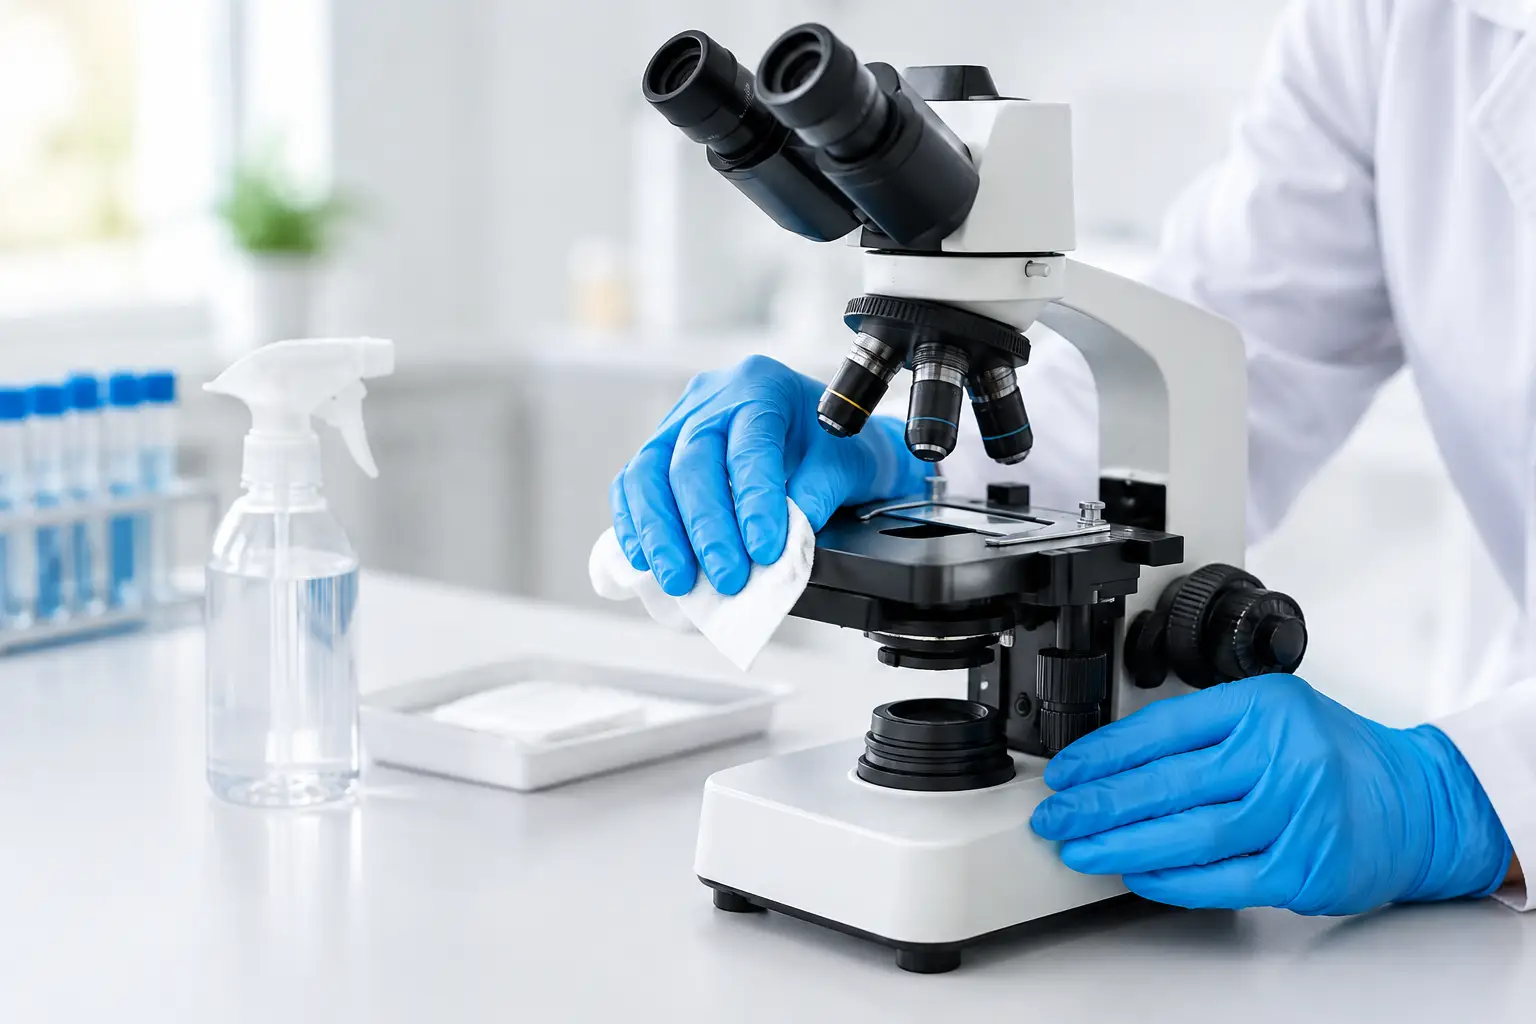
Your microscope is precision equipment, not a countertop. Never spray disinfectant directly onto the microscope. Instead, lightly dampen a soft lint-free cloth, then wipe high-touch areas such as the stage edges, focus knobs, arm, base, and external eyepiece surfaces.
Use only enough moisture to clean the surface. Liquid can creep into stage controls, illumination housings, and focusing assemblies. For the stage, remove any slide and brush away loose debris first. Then wipe gently, taking care around clips, mechanical stage openings, and moving parts.
If immersion oil, tape adhesive, or stubborn residue is present, clean it promptly with a product approved for your instrument. Letting residue sit is harder on the microscope than careful routine maintenance.
Treat Objectives and Eyepieces Differently
Optics are the one area where aggressive disinfection can do real damage. Objective lenses and eyepieces often have specialized coatings that should not be exposed to household disinfectants, bleach, abrasive paper, or excess alcohol. Do not use a standard paper towel, tissue, or shop rag on lens surfaces.
Use lens paper or a clean microfiber material made for optics. Apply a tiny amount of manufacturer-approved lens cleaner to the paper, not directly to the lens. Wipe with a light motion from the center outward, using a fresh section of material as you go. If you are removing immersion oil, follow the microscope manufacturer’s recommended cleaning procedure for that specific objective.
For shared scopes, wipe the outside of eyecups and surrounding surfaces with a lightly dampened disinfecting cloth, keeping liquid away from the glass itself. If you have a camera port, condenser, or other accessory, treat each component according to its material and instructions rather than assuming the same cleaner is safe everywhere.
Build a Repeatable Post-Session Routine
The easiest way to maintain a clean setup is to make the last five minutes of each session automatic. First, discard used disposables and move reusable tools to a designated cleaning area. Next, clean visible debris from slides, tools, and the stage before disinfecting the appropriate non-optical surfaces.
Then wipe down the bench, return clean tools to closed storage, and cover the microscope after it is dry. A dust cover is not just for appearance. It limits airborne debris settling on the stage, oculars, and lenses between sessions.
Keep cleaning supplies separate from sample supplies. Your alcohol wipes, lens paper, gloves, and surface disinfectant should have a dedicated place within reach. This prevents the classic problem of searching through drawers with contaminated gloves while a prepared slide sits exposed.
Avoid These Common Disinfection Mistakes
A few shortcuts cause most of the damage and cross-contamination seen at home microscopy benches:
- Spraying liquids directly onto objectives, eyepieces, stage openings, or control knobs.
- Using bleach or harsh household cleaners on metal components, coated optics, or unknown plastics.
- Cleaning a tool without first removing visible residue.
- Reusing wipes, gloves, or lens paper across multiple samples.
- Returning damp tools or a damp microscope to closed storage.
Also, never mix cleaning chemicals. Combining products can create hazardous fumes and does not make the disinfection process better. Use one suitable product at a time, with ventilation appropriate to its label.
A clean microscopy routine is less about making your bench look clinical and more about protecting the details you are trying to see. Keep your optics gentle, your hand tools consistent, and your workspace reset between samples. That small discipline gives every session a cleaner starting point – exactly what a well-run Mycelium Network bench deserves.