
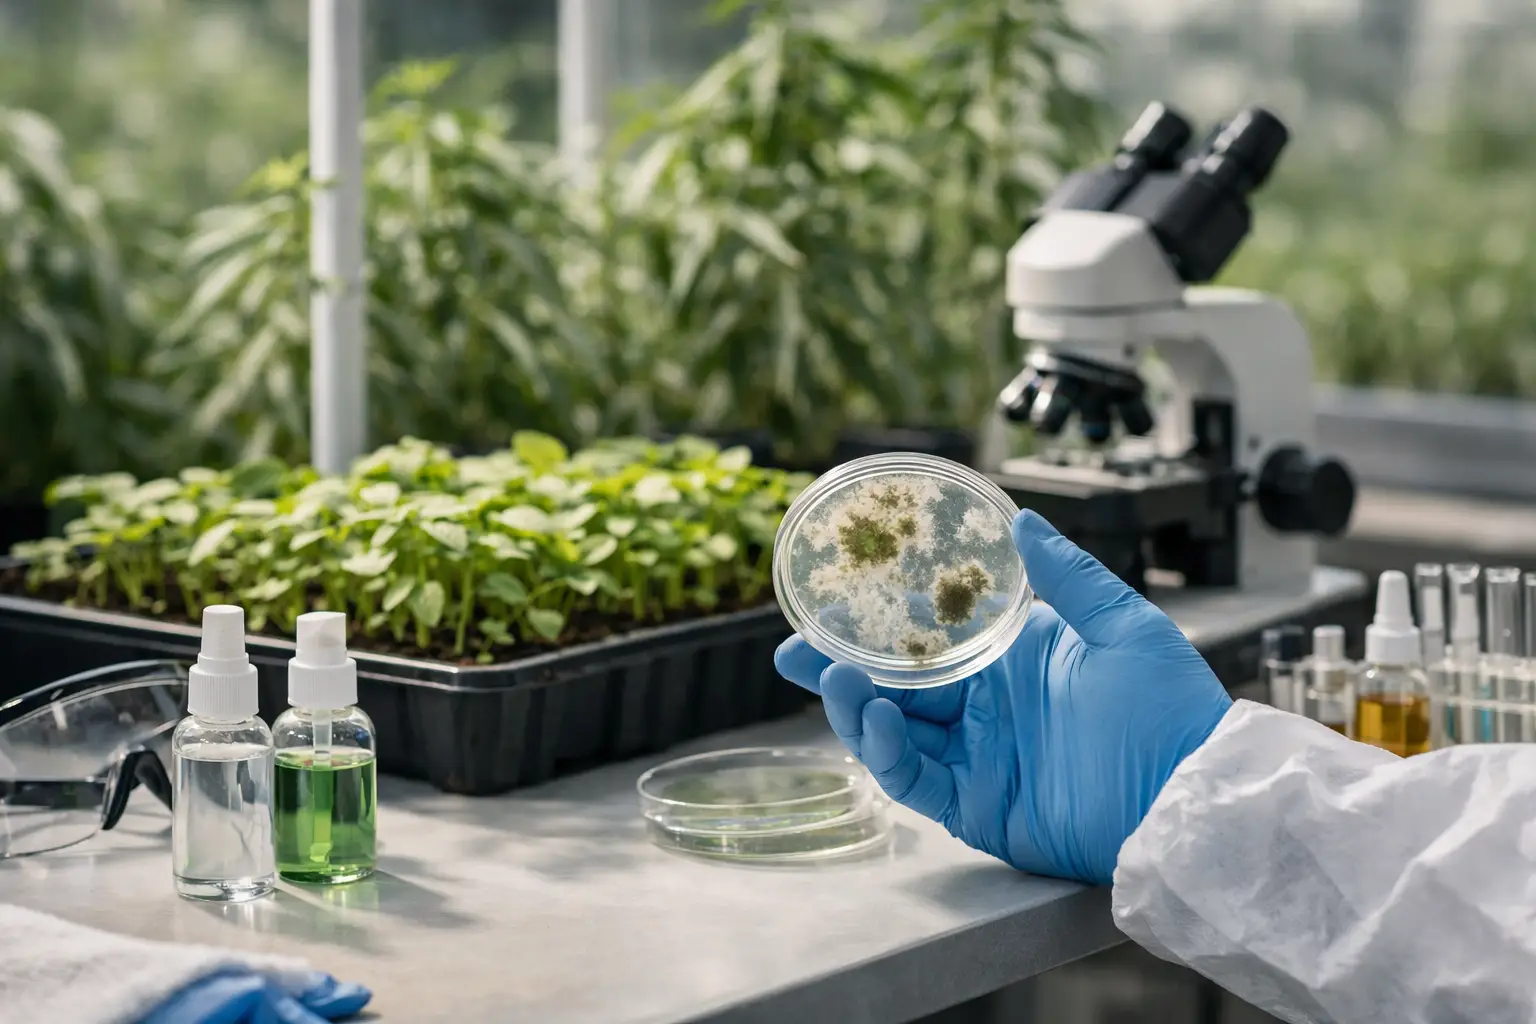
A clean-looking plate can still carry trouble. Bacteria may hide beneath healthy-looking mycelium, while mold spores can settle during one rushed transfer and show up days later. This culture contamination prevention guide is built for growers who want cleaner agar work, more dependable liquid culture, and fewer mystery losses between inoculation and fruiting.
Contamination is not always a sign that your skills are bad or your genetics are weak. It usually means one link in the chain needs attention: the culture source, the sterile media, the work area, the tools, or the incubation conditions. The goal is not to create a laboratory-grade cleanroom at home. The goal is to build a repeatable workflow that gives unwanted organisms fewer chances to win.
Start With Clean Culture, Not Hope
The easiest contamination to prevent is the contamination you never transfer. Before expanding a culture, inspect it under good light and give it time to reveal its behavior. Healthy mycelium should grow in a consistent pattern for that species and medium. It may be wispy, dense, rhizomorphic, or tomentose, but it should not suddenly produce wet patches, dull gray spreading zones, or colors that deepen over time.
Agar is your best checkpoint. Even when a liquid culture looks clear, a small amount transferred to agar can reveal bacteria or competing mold that would otherwise travel into every jar or bag. For growers building a library of edible cultures, testing first may feel slower, but it saves far more time than inoculating a large batch with a questionable master.
When selecting tissue from a plate, take the leading edge of vigorous growth rather than the oldest, most crowded center. The outer edge is where clean mycelium is actively expanding away from anything left behind near the original transfer. If a plate has a suspicious sector, do not rationalize it because the rest looks good. Transfer away from the issue only if there is clearly clean, separated growth. Otherwise, discard it and protect the rest of the workspace.
Build a Clean Transfer Routine
Good sterile technique is less about dramatic gestures and more about doing small things in the same order every time. Set out only what you need before beginning: sealed plates or jars, labels, a scalpel or inoculation loop, a flame source if your workflow uses one, alcohol for surface sanitation, gloves, and a waste container. Searching for a marker halfway through a transfer creates unnecessary movement and exposure.
A still-air box and a properly used flow hood solve different problems. A still-air box reduces air movement around open containers. A flow hood provides filtered, directional air and is generally better suited to frequent culture work, but only when its filter, airflow, and setup are maintained correctly. Neither tool compensates for dirty hands, unsterilized tools, or opening containers too wide for too long.
Before each session, clean the work surface, let it dry, and wash your hands thoroughly. Keep sleeves, hair, loose packaging, and fans away from the work zone. If using gloves, remember that gloves are not automatically sterile. Treat them as another surface that needs to stay clean. Avoid touching phones, door handles, or product packaging once transfers begin.
Work deliberately. Open one plate or vessel at a time, keep lids close to the opening, and make the transfer with minimal hovering. Sterilize the tool between cultures, not just between sessions. A tool that touched one plate can carry invisible cells, spores, or residue into the next one.
Flame, alcohol, and heat: use each for the right job
Alcohol is excellent for cleaning surfaces and glove exteriors, but it does not replace heat sterilization for a scalpel blade or loop. If you flame sterilize a tool, let it cool without waving it around or touching it to an unclean surface. A hot blade can damage a small agar wedge, and a cooled but contaminated blade defeats the point.
Pressure sterilization is the standard for nutrient media, grain, and many reusable items. Follow the timing and operating guidance for your equipment, account for load size, and allow pressure to return to normal naturally. Cutting a cycle short may save minutes while creating a much larger loss later.
Keep Media and Containers From Becoming Weak Links
A clean transfer into poorly prepared media is still a contamination event waiting to happen. Agar plates should be poured into clean containers, allowed to set, and stored in a way that limits condensation. Excess moisture can let bacteria spread quickly across the surface and make clean growth harder to read.
With liquid culture, clarity alone is not proof of cleanliness. Some bacterial contamination remains subtle, especially in nutrient-rich broth. Use a tested master culture, sterilize the media thoroughly, and keep the injection port and lid assembly clean. If a jar develops unexpected cloudiness, sediment, a sour odor, or unusually sluggish growth, test it on agar before trusting it.
Grain deserves equal attention because it is forgiving only until it is not. Overhydrated grain creates wet pockets where bacteria thrive; underhydrated grain can stall colonization and invite uneven results. Proper hydration, complete sterilization, and filters that allow gas exchange without exposing the contents are all part of the same system.
Do not overlook container handling. The outside of a jar, plate sleeve, or culture bag can carry dust from storage shelves, shipping boxes, or old grow areas. Keep culture supplies organized in a clean, dry zone away from fruiting chambers, houseplants, compost, and high-traffic areas. Separating clean culture work from messy substrate work is one of the highest-value changes a home grower can make.
Control the Room, Not Just the Tools
Contamination prevention begins before the first container opens. Choose a room with low traffic and few fabric surfaces. A spare room with the HVAC temporarily off during transfers is often more workable than a busy kitchen, even if the kitchen looks cleaner at first glance. Pets, open windows, laundry, and ceiling fans all increase the number of airborne variables.
Temperature matters, but warmer is not always better. Incubating cultures above the preferred range can stress mycelium while giving bacteria and molds a faster path. The right range depends on the species, so follow the guidance for your culture rather than using a single temperature for every jar and plate.
Humidity should also stay out of your culture-storage equation. Plates and culture jars do not need the same conditions as a fruiting area. Store them cleanly, away from direct sunlight, and with enough organization that you can inspect dates, labels, and growth without repeatedly handling every item.
How to Read the Early Warning Signs
Fast action prevents one bad culture from becoming a bad batch. Mold often announces itself with sudden, fluffy growth that looks different from the intended mycelium and may later develop green, black, pink, or other pigmentation. Bacteria may appear as glossy wet spots, cream-colored slime, cloudy liquid, or a sharp sour smell. Yeast can create creamy, pasty growth and fermentation-like odors.
Visual diagnosis has limits. Some healthy cultures look unusual depending on species, media, temperature, and age. When uncertain, isolate the item, label it clearly, and observe it separately rather than opening it near clean work. A questionable plate on the shelf is manageable. Opening it in the middle of transfer work is not.
Photographing plates on the day they are poured, inoculated, and inspected gives you a useful reference. Over a few runs, patterns become obvious: a recurring issue tied to one batch of agar, one jar style, one supplier lot, or one step in the workflow.
Make Your Culture Work Traceable
The best growers do not rely on memory. Label every plate, jar, and bag with the culture name, transfer generation, date, and a simple identifier for the media or batch. If contamination appears, those details help you trace where it entered.
Keep a short log of what changed between sessions. Maybe the problem started after moving workspaces, switching grain preparation, using older plates, or rushing transfers after a long break. You do not need a complicated lab notebook. A consistent record turns random frustration into useful data.
For many hobbyists, maintaining a small number of clean master cultures is more practical than constantly expanding everything at once. Smaller culture libraries are easier to inspect, test, and refresh. Once a culture proves clean and vigorous, expand it in stages rather than putting every available jar on the line.
A Culture Contamination Prevention Guide That Stays Useful
There is no single disinfectant, container, or technique that guarantees a clean run. Reliable results come from layers: clean starting material, sterile media, controlled air, disciplined transfers, and the willingness to discard suspect cultures early. If one layer slips, the others still reduce the odds of a total loss.
Myceli Nation growers often build better results by treating culture work as a repeatable craft, not a race to inoculate more containers. Slow down at the transfer point, trust agar as a quality check, and let your notes show you where the next improvement belongs.