
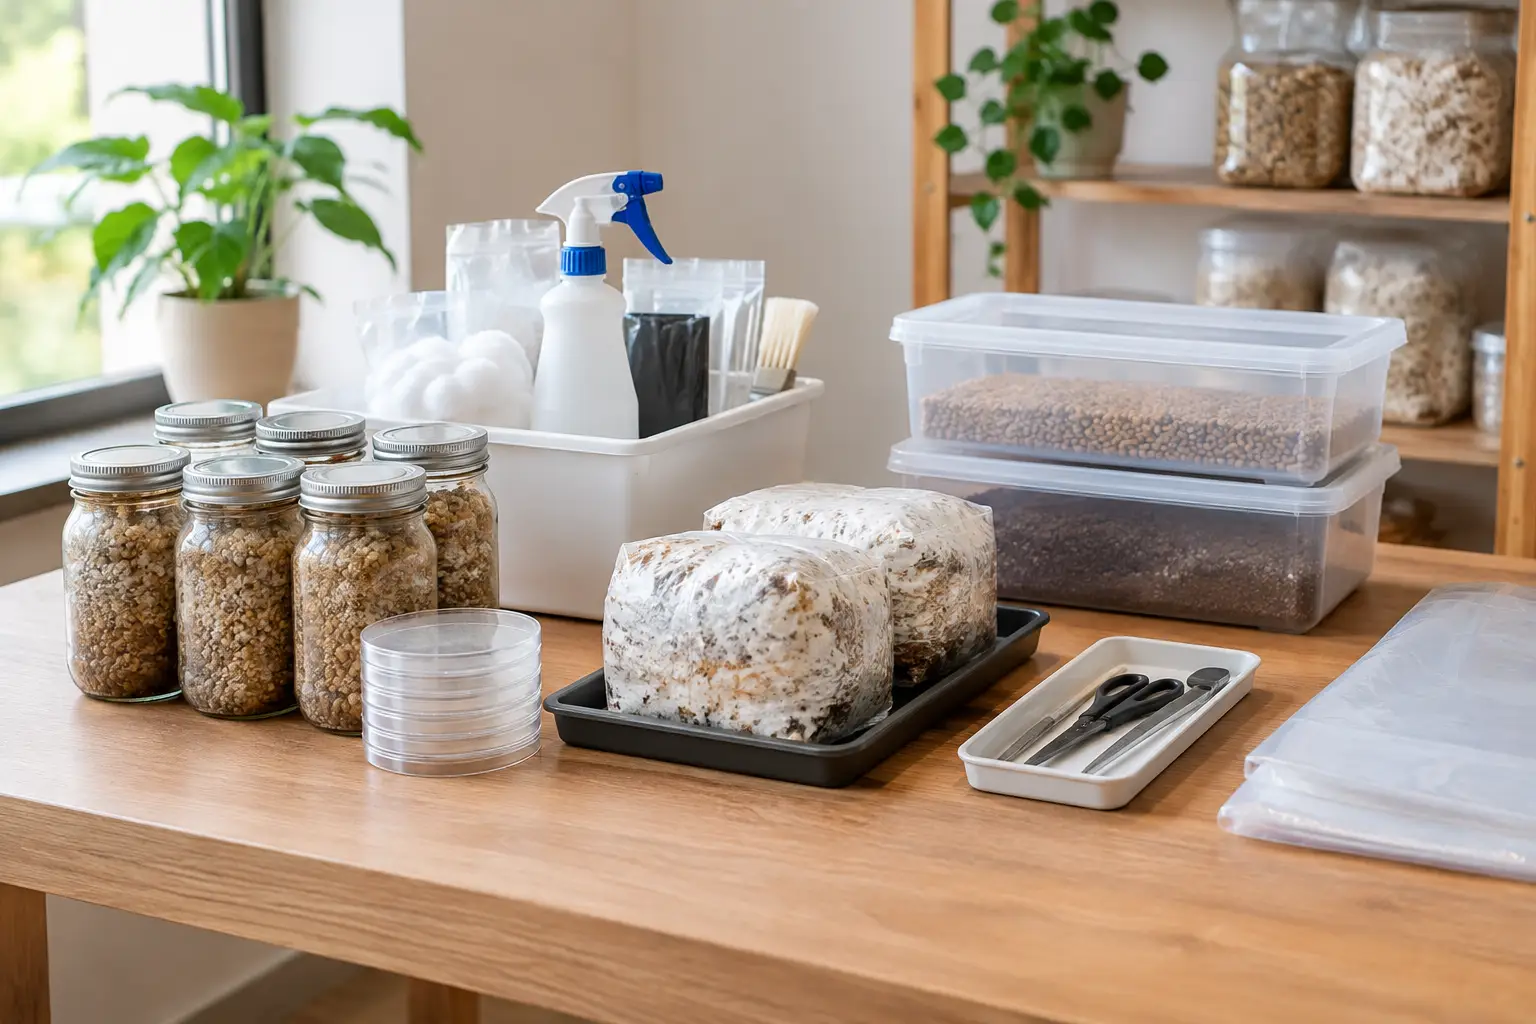
A crowded drawer of syringes, cultures, filters, gloves, and mystery bags can turn a simple project into a frustrating hunt. Learning how to organize mycology supplies is less about buying a wall of storage bins and more about creating a system that protects sensitive materials, keeps clean work separate from dirty work, and lets you find what you need before your workspace gets busy.
For hobby growers, collectors, and microscopy-focused enthusiasts, a good setup also makes it easier to track what is on hand, what needs to be used soon, and what should stay untouched until the next session. Start with the workflow, then build storage around it.
Organize Mycology Supplies by Workflow, Not Product Type
It is tempting to put every small item in one drawer and every large item on one shelf. That looks tidy for about a week. A better system follows the order in which supplies are used: storage, prep, clean work, incubation or growing, and cleanup.
Keep long-term items such as sealed prints, labeled cultures, and unopened consumables in their own protected storage zone. Put gloves, alcohol, wipes, labels, and other prep materials near the space where you assemble your work. Tools used during sterile procedures should have a dedicated clean container, while brushes, tubs, spray bottles, and other general-use gear belong elsewhere.
This separation matters because a clean workspace is not the same as a storage space. When everything lives together, it becomes easy to set a used tool beside fresh supplies or bring a dusty bin into an area reserved for delicate work. Give each zone a job, and the setup becomes easier to maintain.
Build a Simple Storage Map
You do not need a laboratory-sized room. A closet shelf, rolling cart, cabinet, or a section of a garage can work well if it stays dry, reasonably stable in temperature, and away from direct sunlight. The key is making the location predictable.
Assign one shelf, drawer, or tote to each major category. Use clear containers when visibility helps, but choose opaque containers for light-sensitive materials. Small parts organizers are useful for label rolls, parafilm, filters, clips, scalpel blades, and other compact supplies. Larger latching totes work better for gloves, bags, jars, bulk substrate materials, and cleaning supplies.
Avoid storing everything on the floor, especially in basements, garages, or laundry areas where moisture can creep in. Raised shelving protects cardboard packaging and makes inspections much easier. If your space is humid, choose plastic bins with secure lids rather than open baskets.
Use Labels That Answer the Right Questions
A label that says “mycology” does not help much when six containers are involved. Each label should quickly tell you what the item is, when you got it, and whether there is a time-sensitive detail to know.
For cultures, prints, and ready-to-inoculate products, include the variety name, format, date received or prepared, and source or batch reference if applicable. For dry goods, note the purchase date and any storage instructions from the original packaging. For prepared materials, write the preparation date and a clear use-by reminder based on your own process and product guidance.
Painter’s tape and a permanent marker are perfectly fine for temporary labels. For a longer-term system, use a label maker or printed labels that will not smear after repeated handling. Put labels on the front and top of a bin so they remain readable whether the container is stacked or shelved.
Create a Protected Area for Cultures and Spores
Some supplies require more care than gloves or measuring tools. Keep cultures, prints, and similar items in a dedicated container away from heat, sunlight, moisture, and frequent handling. A small hard-sided case or lidded organizer prevents bending, spills, and accidental disposal.
Do not rely on memory for dates. Older materials can still be useful depending on their format and storage history, but clear dating gives you the information needed to decide what to use first. Arrange items by date, with older stock at the front and newer stock behind it. This first-in, first-out approach prevents good materials from disappearing into the back of a drawer.
If refrigeration is appropriate for a particular item, keep it in a clean, clearly marked container separate from food. Check the supplier’s storage guidance rather than assuming every mycology product needs the same conditions. Different formats have different needs, and overhandling can be as unhelpful as poor storage.
Set Up a Clean-Work Kit
The fastest way to keep a work area organized is to avoid gathering supplies one piece at a time. Build a clean-work kit that contains only items intended for your prep and sterile workflow. A lidded tote, shallow bin, or portable caddy works well.
Your kit may include gloves, disinfectant, wipes, face masks if you use them, labels, a marker, measuring tools, sterile blades, and other frequently used items. Keep the kit closed when not in use and restock it after each session. The goal is not to fill it with every tool you own. It should contain the dependable basics that eliminate last-minute searching.
Keep cleaning chemicals separate from cultures and consumable materials. Even when bottles are tightly closed, separating them reduces the risk of leaks, odor transfer, or grabbing the wrong item while moving quickly. A clearly marked cleanup bin also makes it easier to return used tools for washing instead of placing them back into clean storage.
Keep Bulk Supplies Visible and Rotated
Bulk items are where organization usually breaks down. Bags, jars, filters, liners, and substrate materials can take up more room than expected, so avoid buying containers before measuring your storage area. A shallow shelf may need wide, low bins; a tall closet may be better for stackable totes.
Store bulk goods by how often you use them. Weekly supplies should sit at eye level or within easy reach. Backup stock can go higher or lower. Heavy items belong on lower shelves for safety, while lightweight packaging and spare labels can be stored above.
Use open-front bins for items you grab constantly, such as gloves or empty containers. Use sealed bins for dusty materials, loose substrate components, or items that could absorb moisture. If a bag is opened, transfer it to a labeled airtight container when appropriate, then record the date. Small habits like this prevent duplicate purchases and make your inventory more reliable.
Track Inventory Without Turning It Into Homework
A detailed spreadsheet is useful for some cultivators, but it is not mandatory. Your inventory method should match the amount of material you keep. If you have a few supplies, a simple note on your phone or a clipboard inside the cabinet may be enough. If you manage multiple cultures, varieties, and recurring orders, a spreadsheet can save real time.
Track the essentials: item name, format, quantity, date acquired, storage location, and reorder point. A reorder point is simply the quantity at which you add an item to your next order. For example, if you always want two unopened boxes of gloves available, add gloves to your list when you open the second-to-last box.
Myceli Nation shoppers who like variety packs or bundled supplies can benefit from recording each item as it arrives rather than waiting until the next project. It takes a minute, and it keeps a new order from becoming another unmarked stack on the shelf.
Give Every Session a Reset Step
The best organization system is one you can restore quickly. At the end of each session, discard waste, wipe down work surfaces, return clean tools to their assigned container, and update any labels or inventory notes while the details are fresh. This reset should take minutes, not an entire afternoon.
If you notice a category overflowing, do not simply buy another bin. First ask why. You may be keeping empty packaging, storing backups in the wrong zone, or combining items that should be separated. Adjusting the workflow is usually more effective than expanding the storage footprint.
A well-organized mycology setup should feel calm before you begin: fresh supplies are easy to locate, active materials are clearly identified, and cleanup has a place to go. Build that clarity one labeled container at a time, and your workspace will support better habits with every project.