
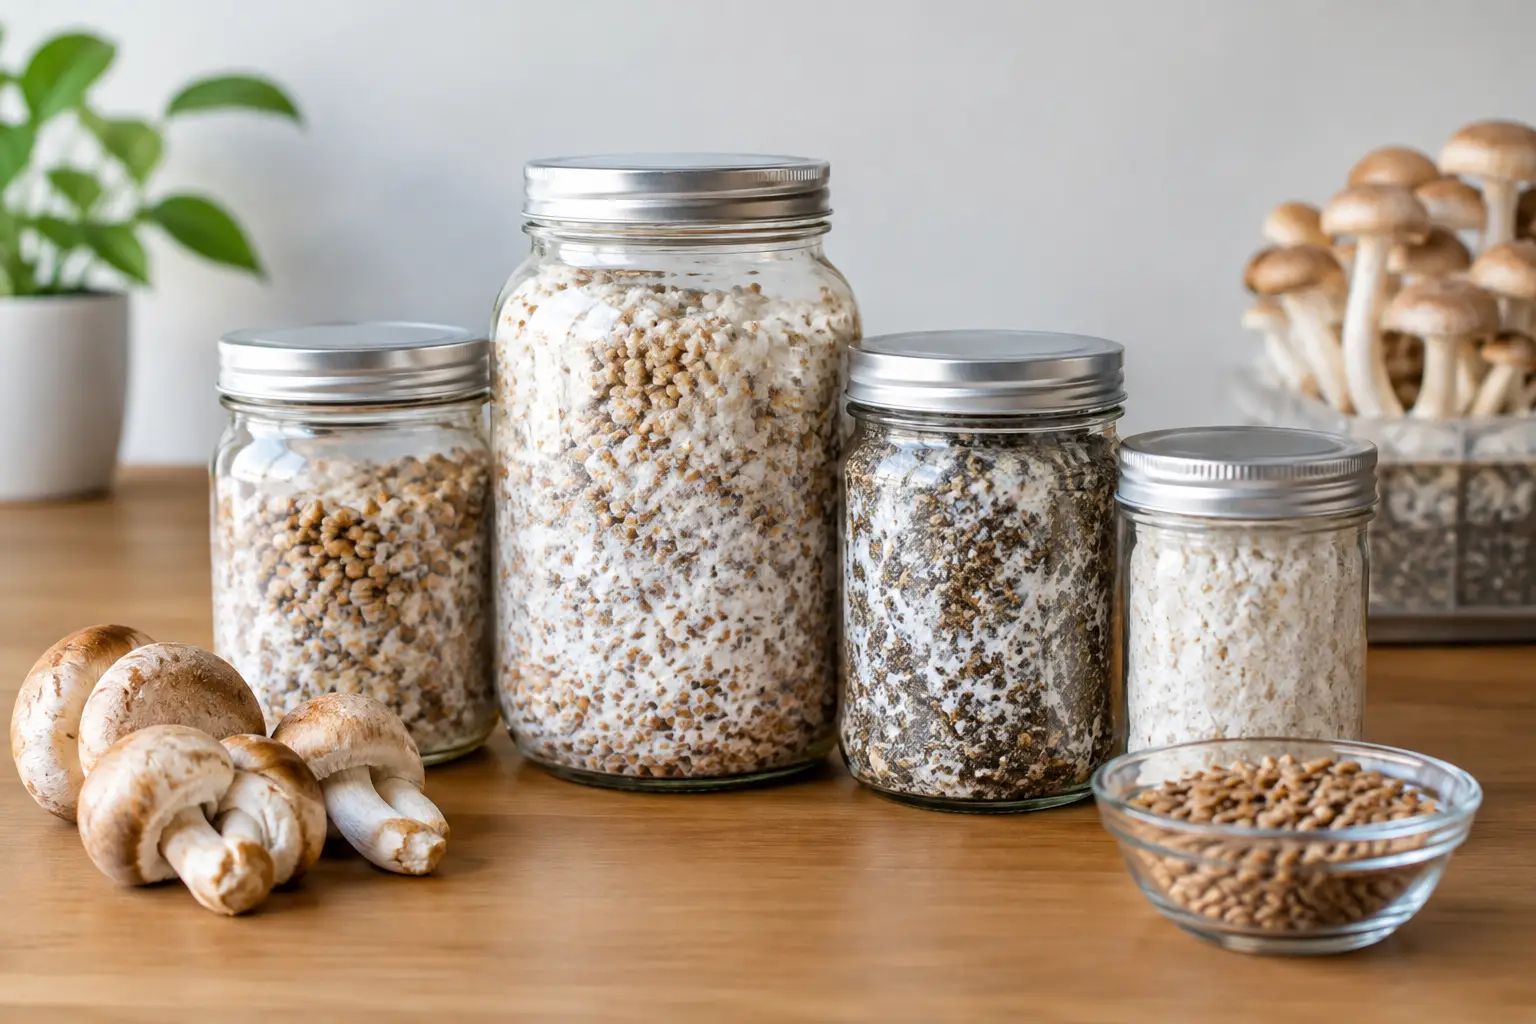
A culture can look clean, active, and ready to use, then become a headache because the jar was awkward to sterilize, difficult to inspect, or fitted with a lid that did not match the workflow. Knowing how to choose culture jars starts with more than grabbing the nearest glass container. The right jar supports clean handling, gives you a clear view of what is happening inside, and holds up through repeated use.
For hobby cultivators working with edible mushroom cultures, jar selection is one of those small decisions that affects nearly every later step. Size, glass quality, mouth style, lid setup, and intended use all matter. A solid culture jar does not need to be expensive or overbuilt. It needs to fit the way you actually work.
Start With the Type of Culture You Keep
Before comparing jars, decide what the jar will hold. A vessel for liquid culture has different needs than a jar used to store grain, hold sterile water, or maintain a small agar-based culture. The word “culture jar” covers several jobs, and buying one format for every job often creates unnecessary compromises.
Liquid culture jars benefit from excellent visibility and a lid that can support filtered gas exchange and clean access. You want to watch the culture develop without opening the vessel, so clear glass and a simple shape are useful. Jars used for storage may place more value on a wide opening and easy cleaning. If you are preparing larger batches, capacity and headspace become more important.
Think about your next few sessions, not just the project on the bench today. A small collection of jars in two practical sizes is usually more useful than a shelf full of random containers.
Choose Culture Jar Size for Your Workflow
Jar size affects how easy a culture is to inspect, handle, sterilize, and use before it ages. Bigger is not automatically better. A large jar can be efficient for a high-volume workflow, but it can also mean more media to lose if something goes wrong.
For testing a new edible culture or keeping small amounts ready for future work, compact jars are convenient. They heat and cool more quickly, take up less storage space, and make it easier to keep separate cultures organized. Half-pint and pint jars are common choices for small-batch work because they are easy to hold, label, and inspect.
Pint jars offer a balanced option for many home growers. They provide enough room for useful quantities while remaining manageable during sterilization and handling. Quart jars make sense when you regularly need larger volumes, are confident in your clean technique, and have equipment that comfortably accommodates them.
Headspace matters just as much as total volume. A jar filled too close to the lid leaves little room for movement and can make mixing harder. A jar with reasonable empty space at the top is easier to handle and gives the contents room to move without coating every surface.
Why Wide-Mouth Glass Jars Usually Win
For most mushroom work, wide-mouth canning jars are the practical default. The opening makes them easier to fill, clean, inspect, and empty. If you need to remove settled material, wash away dried residue, or reach the bottom with a brush, that wider access saves time.
Regular-mouth jars can still work well for liquid culture, especially when you already have compatible lids and want a more compact profile. Their narrower opening is not a dealbreaker, but cleaning can be more annoying after repeated use. Choose regular-mouth jars when they suit your existing setup, not because they happened to be the cheapest option in a mixed box.
Look for clear, thick glass designed for canning or preserving. These jars are made for repeated heat exposure and tend to have standardized lid sizes. Reused food jars may seem like a budget shortcut, but thin glass, nonstandard threads, and hard-to-clean shoulders can turn a bargain into a recurring problem.
Look Closely at the Lid Design
The lid is where a culture jar becomes a piece of cultivation equipment instead of just a container. A basic two-piece canning lid can be modified or paired with purpose-built components, while reusable lids may offer a more durable option for frequent work. The best choice depends on how often you prepare jars and how much customization you want.
For liquid culture, a useful lid typically provides filtered gas exchange while maintaining a clean barrier from outside contaminants. Some growers also prefer a self-healing access port, which allows clean sampling or inoculation without repeatedly removing the lid. That setup can reduce unnecessary exposure, but it is only worthwhile if the materials are installed cleanly and maintained well.
Keep lid layouts simple. A lid crowded with ports, filters, and fittings may look advanced, but every extra opening is another component to inspect and maintain. For many home setups, one reliable filter and one access point are enough.
When evaluating lids, check that the materials are suitable for repeated heat exposure. Filters should stay intact and breathable, while sealants and access ports should not crack, loosen, or develop gaps after multiple cycles. Replace anything that looks worn rather than hoping it will last one more round.
Match the Jar to Your Sterilization Equipment
A culture jar is only useful if it fits comfortably into the equipment you use. Measure the interior height and width of your pressure sterilizer before committing to a case of tall jars. Pay attention to the lid height too, especially if you use filters or ports that add clearance.
Straight-sided jars are generally easier to arrange and less likely to create wasted space. Shorter jars can be especially helpful in compact equipment, while taller jars may fit better in larger units. You also want enough room for steam circulation around each jar. Packing containers tightly can interfere with consistent processing and makes unloading more awkward.
Avoid choosing a jar solely because it holds the maximum possible volume. A slightly smaller jar that fits your equipment well, cools predictably, and is easy to remove safely is usually the better long-term choice.
Prioritize Visibility and Easy Inspection
Cloudy glass, deep embossing, and heavily curved shoulders all make it harder to evaluate what is inside. When you are checking a culture for clarity, sediment, color changes, or unexpected growth, a clean view is valuable. Choose jars with smooth sides and minimal decorative texture.
A flat or gently rounded base also helps. You want jars that sit securely on a shelf, work surface, or stir plate if that is part of your process. Stability is not flashy, but it prevents spills and makes regular observation less of a chore.
Label space deserves attention too. Culture jars should be marked with the culture name, date prepared, and any note that helps you track its history. Smooth-sided jars accept labels cleanly, and glass handles marker labels well when you prefer a reusable system. Clear records make it easier to rotate older jars first and spot a culture that needs to be replaced.
Build a Jar System You Can Repeat
The most efficient setup is not necessarily the biggest one. It is the one you can repeat without second-guessing every component. Standardizing on one or two jar sizes means fewer lid types, fewer storage headaches, and faster prep days.
A practical starting system might include smaller jars for testing and maintaining individual cultures, plus a larger size for the cultures you use most often. Keep a few spare lids and filters on hand so a damaged component does not interrupt your plans. Store clean jars with their parts organized together, rather than digging through a box of unmatched rings and lids when you are ready to work.
Before adding a jar to your regular rotation, run it through a full cycle: clean it, assemble the lid, sterilize it, allow it to cool, and inspect every seal and component. That quick test tells you far more than product packaging ever will.
A Quick Buying Check Before You Commit
When shopping for culture jars, make sure the choice answers four practical questions:
- Does the jar fit the volume you actually prepare?
- Can you clean and inspect every part of it easily?
- Does it fit your sterilization equipment with room to spare?
- Are replacement lids, rings, filters, or ports easy to keep consistent?
At Myceli Nation, The Mycelium Network is built around making specialized mushroom supplies easier to compare, and the same principle applies here: choose gear that makes your next step simpler. A dependable jar system lets you spend less time fighting container problems and more time paying attention to the culture itself.