
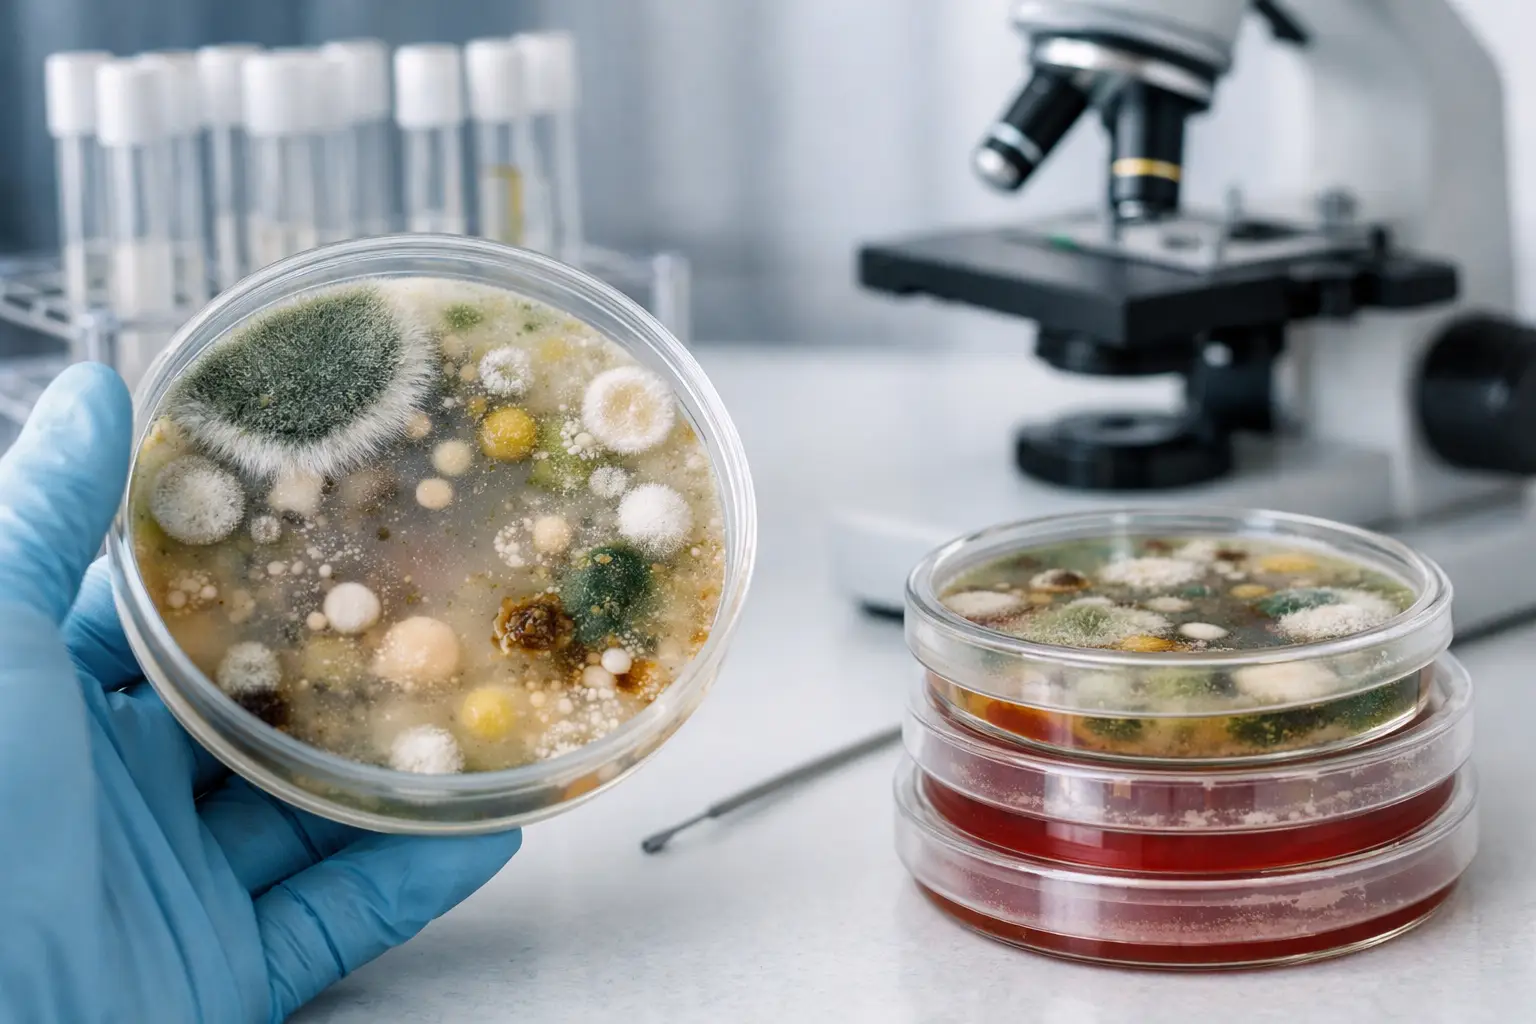
A plate can look perfect when it leaves the pressure cooker and still show a fuzzy green patch, wet sheen, or fast-moving colony a few days later. So, what causes agar contamination? Usually, it is not one dramatic mistake. It is a break somewhere in the clean workflow: during media prep, pouring, inoculation, incubation, or from the sample itself.
For cultivators working with spores, tissue, or edible cultures, agar is where clean genetics become visible. It is also where small lapses become impossible to ignore. Learning to read contamination patterns and trace their source saves plates, time, and frustration.
What Causes Agar Contamination Most Often?
Agar contamination happens when bacteria, mold spores, yeast, or other unwanted organisms land on or enter nutrient agar before the intended mycelium can fully claim the surface. Agar is a rich food source. The same nutrients that support healthy mycelial growth can support nearly every airborne microbe in a room.
The most common causes are unsterilized media, contaminated tools or work surfaces, poor airflow control, weak plate seals, and dirty starting material. The timing and appearance of growth can help narrow down which one is responsible.
If several unopened plates contaminate, suspect your media preparation, pouring environment, plates, or lids. If clean plates contaminate only after you transfer a sample, focus on your technique or the source culture. If a plate stays clean for days and then develops growth around the edge, sealing or incubation conditions may be part of the problem.
Contamination From Agar Prep and Sterilization
Agar must be fully sterilized before it is poured. Heating media until it looks dissolved is not the same as sterilizing it. Bacterial cells and fungal spores can survive inadequate processing, then reveal themselves once the plates cool.
Pressure and time matter, but so does the volume of media in the vessel. A large bottle of agar takes longer for its center to reach sterilization temperature than a smaller container. Overfilling jars, rushing the cycle, or starting timing before the pressure cooker reaches proper pressure can leave survivors behind.
Water quality and ingredients can also contribute. Use clean water and fresh agar ingredients, and make sure bottles, jars, stir bars, and lids are washed thoroughly before sterilization. Old residue inside a bottle can harbor microbes or create uneven heating. After sterilization, avoid repeatedly opening the vessel or leaving it exposed while waiting for it to cool.
Overcooking has a trade-off. Excessive heat can darken nutrient-rich media and alter its consistency, while underprocessing raises the chance of contamination. Aim for repeatable preparation rather than trying to compensate with extra heat every time.
Problems During Pouring
Pouring is an easy place for clean agar to become dirty. Every second a lid is off is an opportunity for airborne particles to settle. A still-air box or properly used flow hood reduces that exposure, but neither replaces clean habits.
Wipe down the work area before starting. Let disinfectant remain wet for its labeled contact time rather than immediately wiping it dry. Keep movements slow, avoid reaching over open plates, and pour only as many plates as you can handle without rushing. Talking, coughing, fans, open windows, pets, and nearby traffic all add variables.
Condensation is not contamination by itself, but heavy moisture can spread contaminants across a plate and make diagnosis harder. Let poured plates set until the agar has firmed, then store them inverted so moisture collects on the lid instead of dripping onto the agar surface.
Tools, Hands, and Airflow Break the Clean Zone
A sterile scalpel, inoculation loop, or needle can become contaminated the moment it touches a nonsterile surface. The same goes for gloves. Flame-sterilizing a tool is effective only if the full working end is heated and allowed to cool without touching anything else.
Do not wave a hot blade around to cool it. That movement draws it through room air. Let it cool briefly inside your clean workspace, or touch it to a clean, unused area of agar before making the transfer. A tool that is too hot can damage the mycelium, while one that is not properly sterilized can carry contamination plate to plate.
Gloves are useful, but they are not automatically clean. Sanitize gloved hands before work and again whenever they touch a phone, cabinet handle, spray bottle, or anything outside the clean zone. Keep sleeves, hair, and loose clothing away from open plates. The goal is not a perfectly sterile home. It is a controlled space where the sample has the fewest possible chances to pick up hitchhikers.
Still-Air Boxes and Flow Hoods Are Different Tools
A still-air box works by limiting air movement. Once the box is cleaned and allowed to settle, work slowly so you do not create turbulence inside it. Fast arm movements, frequent opening, or spraying the air right before a transfer can stir particles up instead of reducing them.
A laminar flow hood uses filtered moving air to push contaminants away from the work area. It can be highly effective, but only if the filter, fan speed, and workflow are correct. Blocking the filter face with supplies or working too far off-center can compromise the clean stream. Choose the setup that fits your space and volume, then learn its limits rather than assuming equipment makes every transfer safe.
The Starting Culture May Already Be Contaminated
Not every contaminated plate means your agar work failed. Spores, liquid samples, clone tissue, and even apparently clean plates can carry bacteria or mold that are not obvious at first. Agar is valuable because it separates the sample into visible growth zones, making hidden contamination easier to isolate or discard.
A transfer from a fruit body can introduce contaminants from the outer surface, the tool, or the tissue itself. Work with clean inner tissue when possible, take a small sample, and make multiple transfers rather than trusting a single plate. With spores, germination may be uneven and multiple organisms can be present. Patience and selective transfers are often more productive than trying to rescue every plate.
If contamination appears consistently from one syringe, print, culture, or tissue source while your control plates stay clean, the source is the likely variable. Label every plate with the date, medium, source, and transfer number. Good labeling turns a frustrating mystery into a usable record.
How to Identify Common Agar Contaminants
Mycelium can vary by species and genetics, so appearance alone is not a perfect test. Still, a few patterns are common. Healthy growth usually expands from the inoculation point in an organized way, although it may be fluffy, ropey, thin, or tomentose depending on the culture and conditions.
Bacteria often look wet, shiny, creamy, translucent, or slimy. They may form a puddle-like halo around the inoculation point and can slow or distort mycelial growth. Yeast may appear as smooth, moist, off-white or tan colonies. Mold often starts as a fast-growing patch with a distinctly different texture or color, then may turn green, black, gray, or powdery as it matures.
Do not open a suspicious plate to inspect it more closely. Keep it sealed, observe through the lid, and remove it from the grow area. A contaminant can sporulate quickly, and opening it can turn one failed plate into a room-wide cleanup project.
A Better Troubleshooting Routine
The fastest way to improve your agar success is to change one variable at a time. Prepare a small batch of plates and leave several unopened as controls. If those controls stay clean, your media and pouring process are probably sound. Then test your transfer technique with a known clean culture or make a few transfers under the same conditions.
When contamination occurs, note when it appeared, where it began, and whether it repeats across plates. Growth in the center soon after inoculation often points to the sample or tool. Growth around the perimeter may suggest plate handling, lid gaps, or airborne exposure. Contamination that appears in multiple unopened plates is a signal to revisit sterilization and pouring.
For a consistent home workflow, keep these practices in rotation:
- Clean the workspace and allow disinfectant contact time before each session.
- Sterilize agar, vessels, and tools with a repeatable process.
- Use minimal, deliberate movements inside a still-air box or in front of a properly functioning hood.
- Seal and label plates promptly, then store them inverted at appropriate culture temperatures.
- Keep control plates from each batch so you can identify where a problem began.
Clean Agar Is Built Through Repetition
Contamination is part of learning culture work, not proof that you are bad at it. Even experienced cultivators lose plates. The difference is that a repeatable process makes failures easier to diagnose, while a rushed process makes every contamination event feel random.
Build your workflow around clean media, controlled air, sterile tools, and carefully tracked source material. Over time, your plates will tell you exactly where the weak point is – and every clean transfer is one more step toward a stronger mycelium library.