
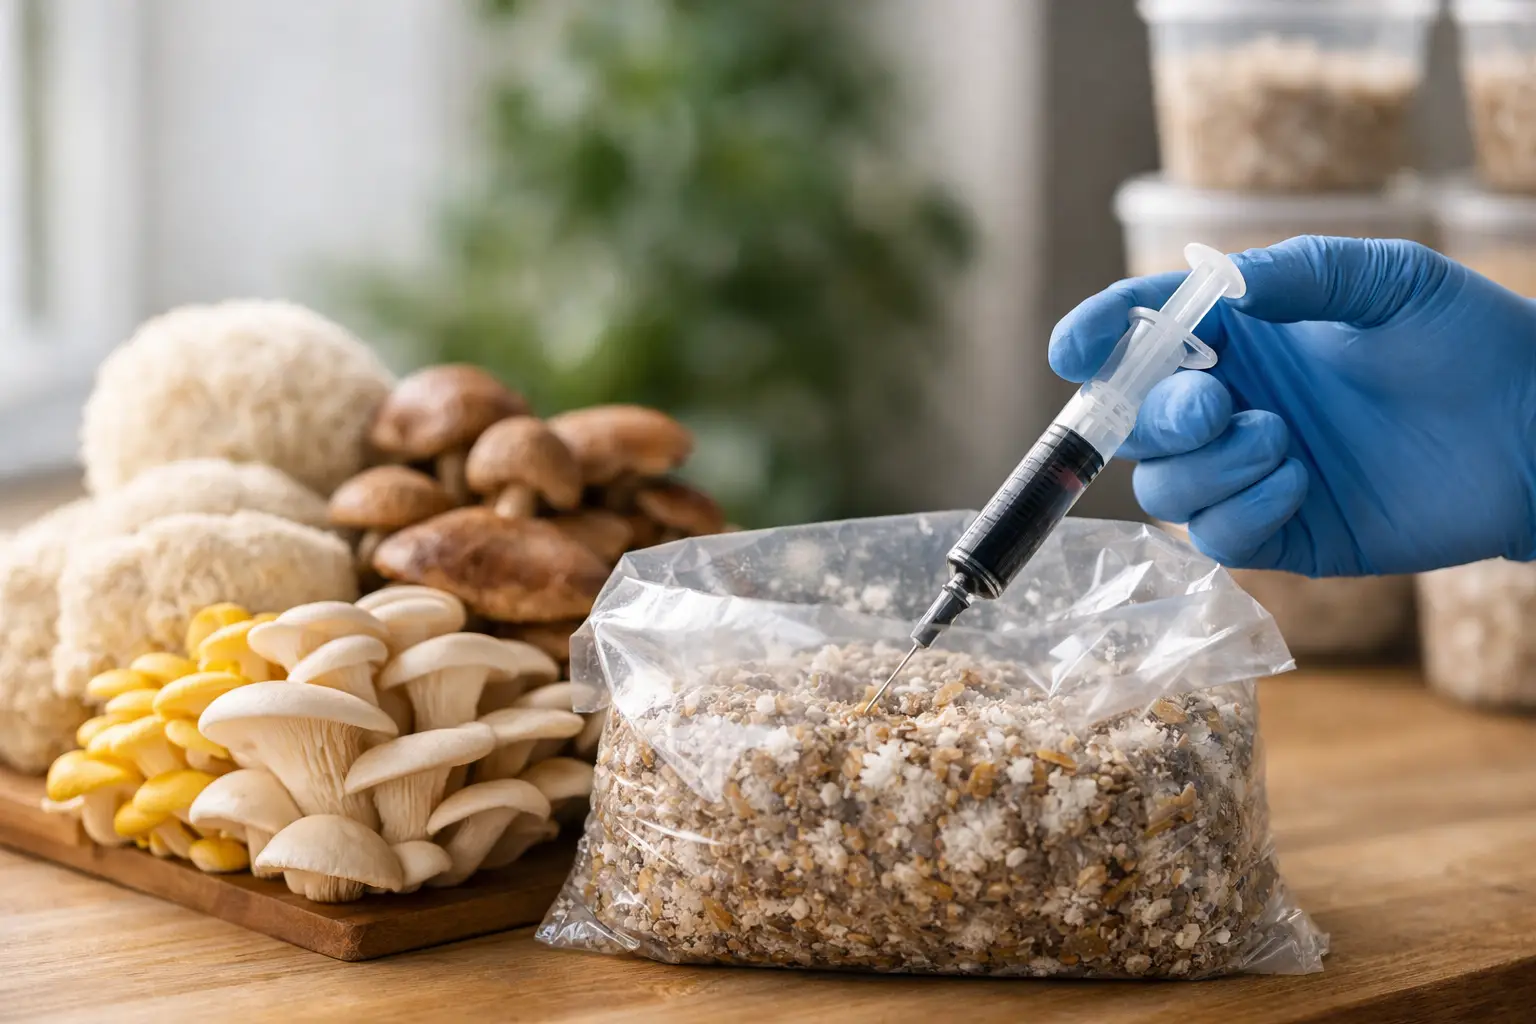
A spore syringe is one of the most accessible ways to begin a legal gourmet mushroom project, but it is not a shortcut around clean technique. Learning how to use spore syringe supplies well comes down to three things: choosing the right starting material, keeping your workspace disciplined, and giving the culture time to show you what it is doing. A steady hand helps. Patience matters more.
For hobby growers, microscopy enthusiasts, and anyone building a broader mycology setup, spores are also a chance to observe mushroom genetics from the beginning. Unlike a ready-to-inoculate culture, a syringe contains spores suspended in sterile water. Those spores need to germinate, pair, and establish themselves before you see vigorous growth.
What a Spore Syringe Is Designed to Do
A spore syringe holds a suspension of mushroom spores in sterile water, usually in a sealed syringe with a sterile needle. It is commonly used to introduce spores to an appropriate sterile medium, where they can germinate and form mycelium.
That distinction is worth understanding before you start. A liquid culture contains already-growing mycelium and often moves faster. A spore syringe starts earlier in the life cycle, which can mean more variation from one project to the next. That variability is part of the appeal for collectors and curious growers, but it also means results may be less predictable.
For most legal gourmet species, spores are best approached as a clean-workflow project rather than a casual add-on to your supply shelf. Match the syringe to a species you are legally permitted to work with and to a method you can keep clean from start to finish.
Set Up Before You Open Anything
The biggest mistake beginners make is treating cleanliness as something to handle halfway through the process. Prepare your space first, then bring out the syringe only when everything else is ready.
Choose a small, calm room with minimal airflow. Turn off fans, close windows, and keep pets, loose fabric, and unnecessary supplies out of the area. Wipe down your work surface with an appropriate disinfectant and let it dry. Wash your hands thoroughly, then use clean gloves if they fit your workflow.
Your basic setup should include the following:
- A legal gourmet mushroom spore syringe
- A suitable sterile medium or prepared project material
- Alcohol wipes or a disinfecting solution
- A flame source or sterile single-use needle, depending on your setup
- Labels and a marker
- A clean container for used materials
Labels are not an afterthought. Write down the species or variety, the date, the material you inoculated, and any batch details you want to track. Once several projects are underway, memory becomes unreliable fast. Clear labels make it easier to compare progress, spot issues, and learn which materials perform best in your environment.
How to Use a Spore Syringe With Clean Technique
Keep the syringe capped until the moment you are ready to inoculate. Before use, gently shake or roll it to distribute the spores through the water. Do not treat it like a paint shaker – aggressive shaking can create excessive bubbles and make the syringe harder to control.
If your syringe has a separate needle, attach it without touching the sterile end. If you are working with a reusable metal needle, sterilize it according to your chosen clean-work protocol, allow it to cool, and avoid placing it on any surface afterward. A hot needle can damage the material you are trying to inoculate, so cooling matters.
From there, the exact method depends on the medium. Some growers begin spores on agar because it makes early growth easier to inspect. Others use a prepared, sterile substrate product designed for the species they are working with. Agar offers more visibility and control, while ready-to-inoculate materials can simplify the first stage for growers who are not yet building a full lab-style workflow.
Use only the amount called for by the product or method you selected. More solution does not automatically mean better results. Overapplying liquid can create overly wet conditions and complicate observation. A measured approach gives the spores an appropriate starting point without changing the moisture balance of the medium.
Once inoculated, seal or close the material as intended and place it in a stable location away from direct sunlight, temperature swings, and constant handling. The best next move is usually to leave it alone. Repeated opening, moving, or inspecting can introduce problems that were not there at the start.
Agar, Grain, or Ready-to-Inoculate Materials?
There is no single best answer because the right route depends on your experience level and goals.
Agar is often the most informative option. It lets you watch for germination and observe whether growth appears clean before moving forward. The trade-off is that agar work requires more tools, more practice, and careful handling. If you enjoy the technical side of mycology, it is a valuable skill to build.
Prepared sterile grain or similar materials can be convenient for experienced growers who already understand how to evaluate healthy growth. However, spores can carry naturally occurring microbes from their source environment. Starting directly on a less-visible medium makes it harder to identify a problem early.
Ready-to-inoculate products sit in the middle for many home mycology projects. They reduce preparation time, but they do not eliminate the need for clean technique. Buy the format that fits the workflow you can realistically maintain, not simply the one that seems fastest.
What Healthy Early Progress Can Look Like
Spores do not operate on a fixed calendar. Germination can vary according to species, genetics, freshness, medium quality, and environmental conditions. Avoid comparing every project to a photo posted by someone working with different materials and a different setup.
On a visible medium, healthy mycelium may appear as fine, bright growth spreading gradually from the inoculation area. Growth patterns differ between species, so focus less on chasing one exact look and more on watching for consistency. A clean project generally becomes more organized over time rather than developing unexpected colors, wet patches, or strong off odors.
If something looks questionable, resist the urge to keep opening it for a closer look. Keep it isolated from other projects and make notes. Observation is part of cultivation skill, and not every attempt will be worth carrying forward. Knowing when to pause, separate, or restart protects the rest of your supplies.
Storage Tips for Unused Spore Syringes
An unopened or partially used syringe should stay capped, clearly labeled, and stored according to the supplier’s instructions. In general, keep it away from heat and direct light. Avoid leaving it in a hot car, near a heating vent, or in an area where it will be repeatedly warmed and cooled.
For a syringe you have already used, maintain clean handling before recapping it. Do not reuse a needle that has touched a nonsterile surface. If you are not sure whether the needle remained sterile, replace it rather than gambling with the next project.
It also helps to organize syringes by species, arrival date, and intended use. That simple inventory habit prevents accidental mix-ups and makes it easier to rotate through your collection thoughtfully. For growers building a varied pantry of gourmet genetics, organization is as useful as another piece of equipment.
Common Problems Are Usually Workflow Problems
When a project stalls or shows signs of contamination, the syringe is not automatically the cause. The issue could come from the workspace, the inoculation point, the medium, storage conditions, or handling after inoculation. Treat each attempt as a record of your process rather than a pass-or-fail verdict on your ability.
A few habits make troubleshooting much easier: work with one clearly labeled project at a time, change only one variable when testing a new method, and keep a brief grow log. Note the date, material, room conditions, and observations. After a few runs, patterns become far easier to see.
Myceli Nation is built for enthusiasts who want more than a random assortment of supplies. Whether you are selecting spores, building a cleaner workspace, or comparing formats for your next legal gourmet project, the goal is the same: make each step intentional.
Start clean, label everything, and let the culture set the pace. The most satisfying mycology projects are rarely rushed – they are observed, adjusted, and built one careful attempt at a time.