
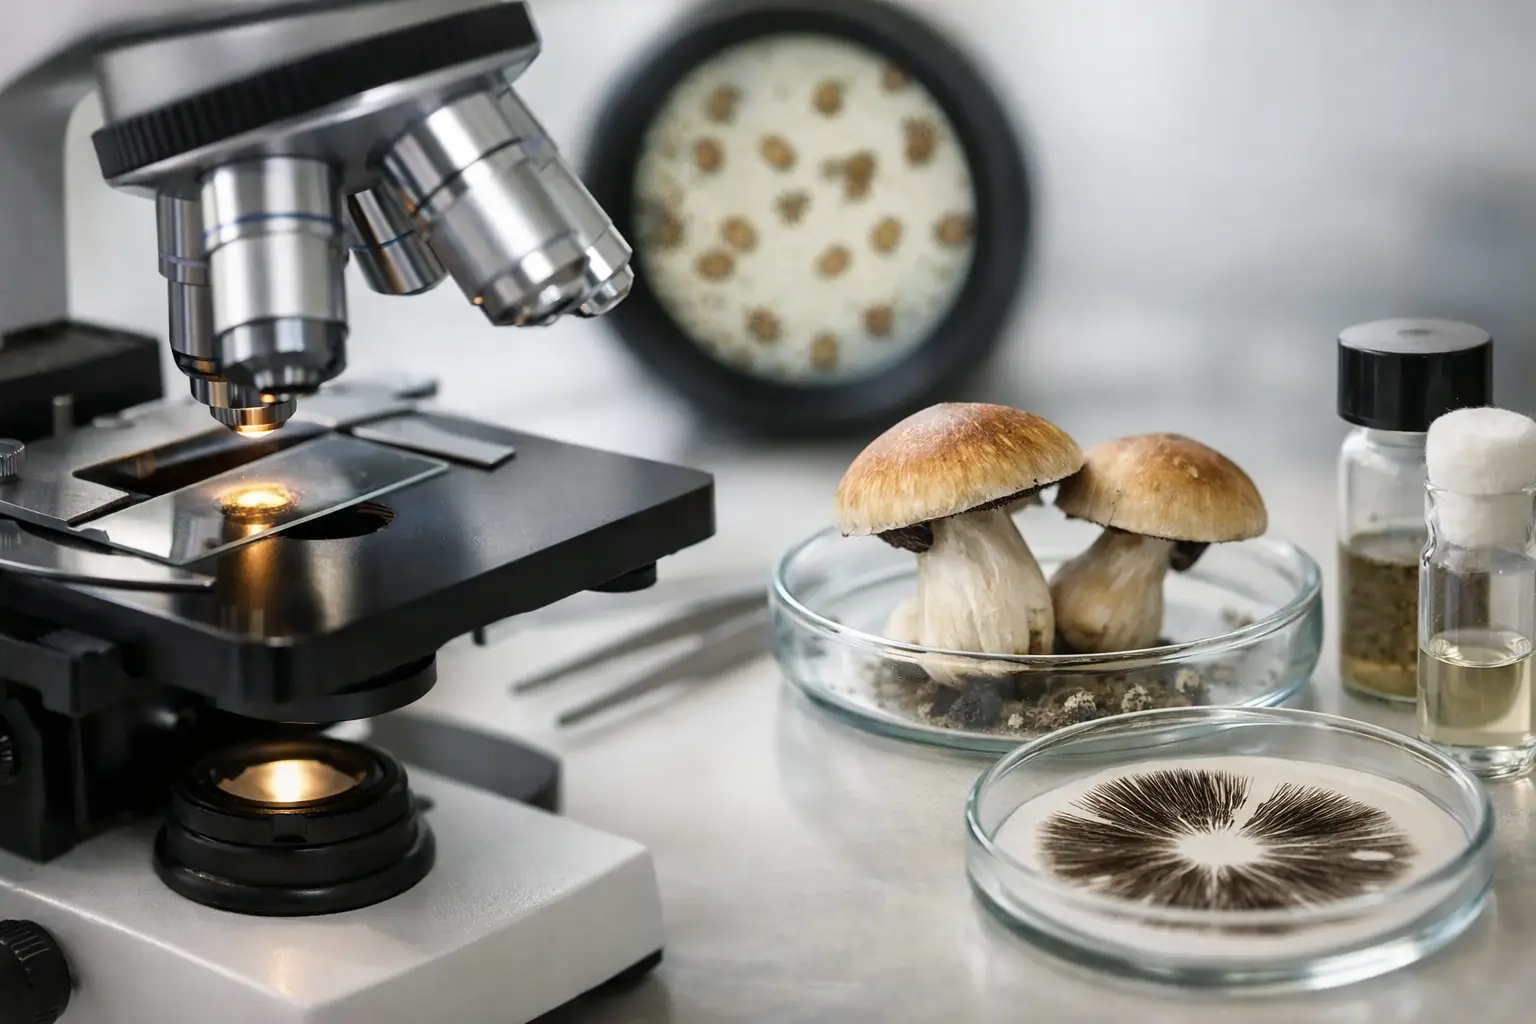
A spore print can tell you a lot before it ever reaches a slide: color, density, freshness, and whether your handling has stayed clean. Mushroom microscopy takes that first read further. Under magnification, a print becomes a field of individual spores with measurable shapes, surfaces, and colors that help you build better records, compare collections, and appreciate the real variation between mushrooms.
For collectors and microscopy-focused hobbyists, this is not about chasing a single perfect image. It is about creating a repeatable workflow. A clean slide, the right amount of moisture, and a few careful observations will teach you more than rushing through expensive gear ever will.
What mushroom microscopy can show you
At the basic level, mushroom microscopy lets you inspect spore morphology. Size, shape, wall thickness, ornamentation, color, and the presence or absence of a germ pore are all details worth recording. Some spores appear smooth and oval, while others can look angular, elongated, dark-walled, or subtly textured depending on the sample and the optics.
A microscope also reveals whether a print contains a reasonably consistent spore population. Variation is normal. A single field may include spores at different orientations, a few damaged specimens, and debris from the print itself. The goal is not to expect identical spores in every view. Instead, look for a recurring range of traits across multiple fields of view.
Microscopy works especially well alongside the observations you already make: cap and gill features, print color, substrate, growth habit, and collection notes. Spores alone rarely settle every identification question, particularly with wild mushrooms. Treat the slide as one useful piece of evidence rather than a shortcut around careful documentation.
Build a sensible microscopy setup
You do not need a lab packed with specialty equipment to get started. A compound microscope with 400x total magnification is enough to see basic spore shape and color. A model capable of 1000x with an oil-immersion objective gives a closer look at finer detail, but it also demands better technique. Start with the magnification you can use confidently.
For a practical bench setup, keep clean glass slides, cover slips, a fine needle or inoculation loop, droppers or pipettes, distilled water, lens paper, and a notebook close at hand. A small slide storage box is helpful once you begin keeping comparative samples. A phone adapter can be useful for documenting what you see, though a hand-drawn observation with measurements is often more reliable than a blurry image.
Lighting matters as much as magnification. Begin at low power to locate the sample, then increase magnification slowly. Adjust the condenser and iris diaphragm until the spores show clear edges without washing out the field. Too much light can flatten fine details. Too little light makes every speck of debris look more dramatic than it is.
A 1000x oil-immersion setup is best reserved for sessions where you are ready to work deliberately. Oil should only contact the oil-immersion objective, and it needs to be cleaned off promptly with proper lens paper. If that sounds like more maintenance than you want, there is no shame in doing excellent work at 400x first.
Choose a sample that gives you a fair read
Fresh, dry, well-kept prints tend to make slide preparation easier. If a print has absorbed moisture, picked up dust, or been handled repeatedly, you may see extra debris and clumped spores. That does not make it worthless, but it can make the first viewing session frustrating.
Work with a very small amount of material. Beginners often add too much, creating a thick dark layer where individual spores overlap. You want a light dusting in the mounting drop, not a mound. When in doubt, use less than you think you need. You can always prepare a second slide.
How to prepare a clean spore slide
Start by cleaning the slide and cover slip so lint or fingerprints do not become part of the mystery. Place a small drop of distilled water in the center of the slide. With a clean needle, transfer a tiny trace of spores into the drop and gently disperse them. Avoid grinding the sample into the glass, which can damage delicate material and introduce larger fragments.
Lower the cover slip at an angle, allowing one edge to touch the water before releasing it. This method helps reduce trapped air bubbles. A few bubbles are common and not a disaster, but they are distracting under higher magnification. If the drop floods beyond the cover slip, blot the outer edge carefully with clean absorbent paper rather than pressing down on the glass.
Give the slide a minute to settle. Then begin on the lowest objective, focus on the cover slip edge, and move toward the area where the spores are dispersed. Once you find a clear zone, increase magnification. At higher power, use fine focus only. Large focus adjustments are the fastest way to lose the field you just found.
Water mounts are ideal for a straightforward first look. Other mounting media and stains can improve contrast or preserve samples, but they introduce variables that are best explored after you are comfortable with basic wet mounts. If you change your medium, note it in your records. A spore can look different depending on the preparation method and lighting.
What to record while you observe
Good microscopy notes turn a one-time view into a collection you can actually use later. Record the date, sample label, source format, mounting medium, microscope magnification, and any notable observations. Add the print color as seen with the naked eye, not just its apparent shade under the microscope.
For spore measurements, measure a useful sample size rather than choosing the biggest or most photogenic spores in the field. Record a range for length and width, then note the general shape. Are most spores broadly oval, narrowly elliptical, cylindrical, or irregular? Do they look smooth? Is a pore visible at one end? Are the walls pale or deeply colored?
It helps to write what you actually see before trying to name it. “Mostly smooth, dark brown, oval spores, with a visible pore on many specimens” is stronger documentation than a quick conclusion based on memory. If you revisit the sample months later, precise notes give you something real to compare.
Common slide problems and simple fixes
If your field is crowded, make another slide with less material. If spores are drifting constantly, use a smaller drop or wait longer for the mount to settle. If everything looks hazy, check the cover slip, objective lens, and condenser before assuming the sample is poor.
If you cannot find spores at all, go back to low power and scan systematically. The sample may be sitting near the edge of the drop or buried in a dense patch of debris. If the spores are too faint, adjust illumination gradually instead of immediately reaching for higher magnification.
Contamination can be educational, too. Fibers, bacteria, dust, and fragments of mushroom tissue all have their own appearance. The key is recognizing that not every object on a slide is a spore. Comparing several areas of the same mount helps separate the repeating pattern from random noise.
Make microscopy part of your mycology routine
The most useful microscope is the one you return to. Keep your sessions short at first: prepare one or two slides, observe them carefully, record what you find, and clean the equipment. That pace builds confidence without turning every sample into a long project.
As your collection grows, compare prints prepared with the same method. Consistent lighting, magnification, and notes make those comparisons more meaningful. Myceli Nation is built for enthusiasts who enjoy that kind of hands-on curiosity, whether they are collecting prints, working with cultures, or simply learning how much detail a microscope can reveal.
A clear slide will not answer every question, but it will sharpen the questions worth asking. Start small, keep your observations honest, and let each session add one more useful layer to your mycology knowledge.